
Tally Sheets — User Manual
Also searched as: log tally, transport unit, measurement sheet, round tally, square tally, timber measurement, CBM calculator, cubic meter, girth, hoppus, wood measurement.
Tally Sheet List
There is no menu item literally called “Tally Sheets” — every tally sheet belongs to a Stock Unit, so tally sheets are managed from the Stock Unit menu instead. Open Stock Unit > Stock Units to view all Stock Units and their tally sheets. The list supports search, table columns, KPI cards, and row actions.



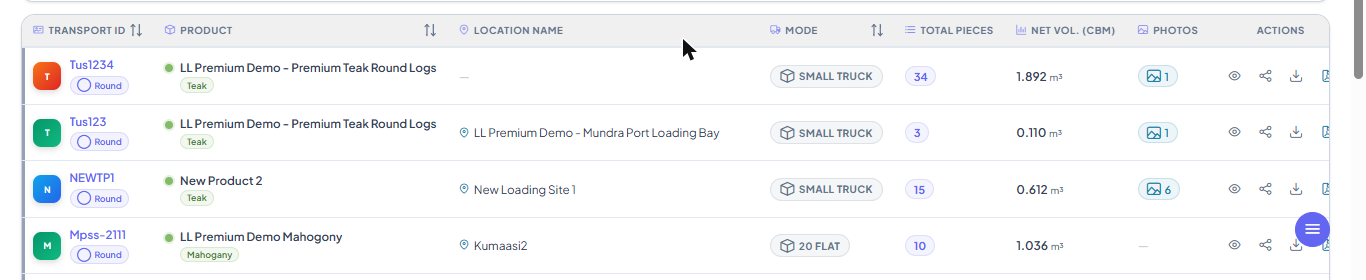
Photo and file chips on each row
Every row shows two small chips next to the volume: the number of photos (image files) and the number of other files (PDFs and so on) of that Stock Unit. Tap a chip to see the files by the category chosen at upload (Front, Stack, Back, BL, Document, Other) with a count each. A Stock Unit with no files shows grey zeros and nothing opens. On a phone the card opens from the bottom of the screen.
Create and Edit
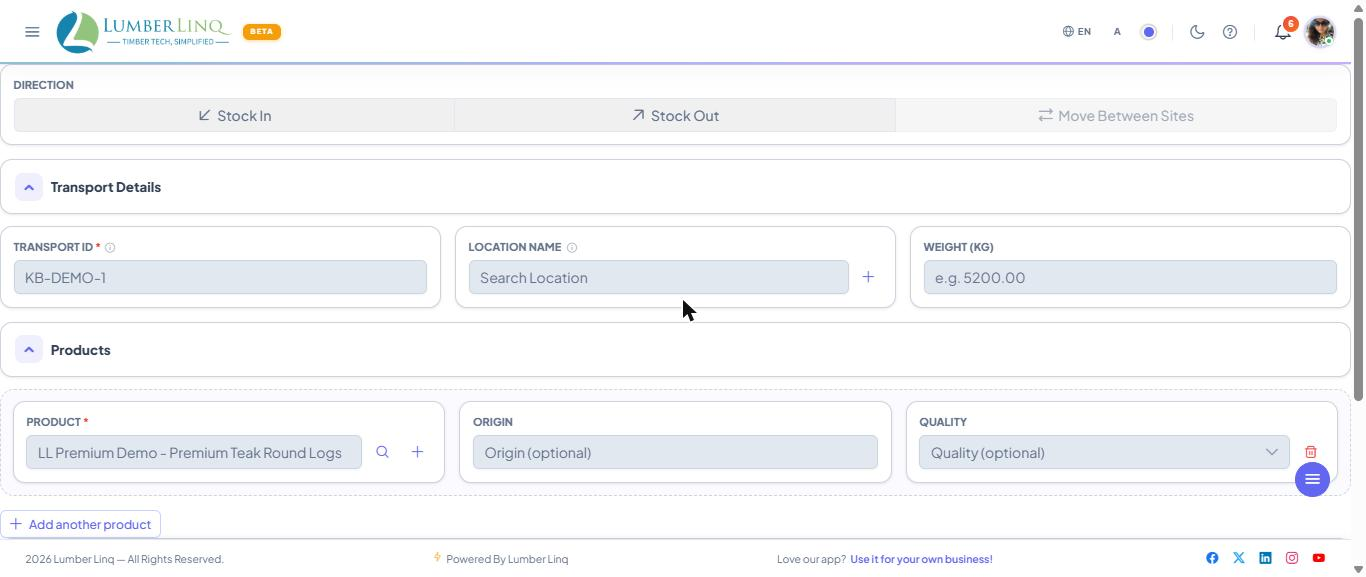
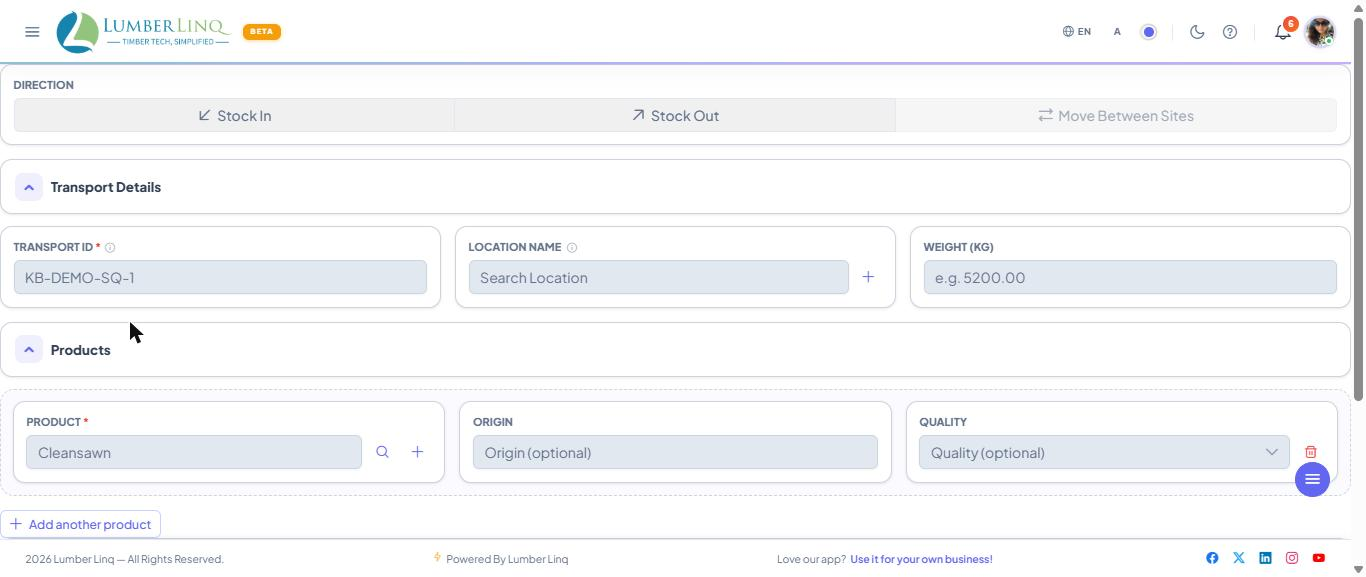
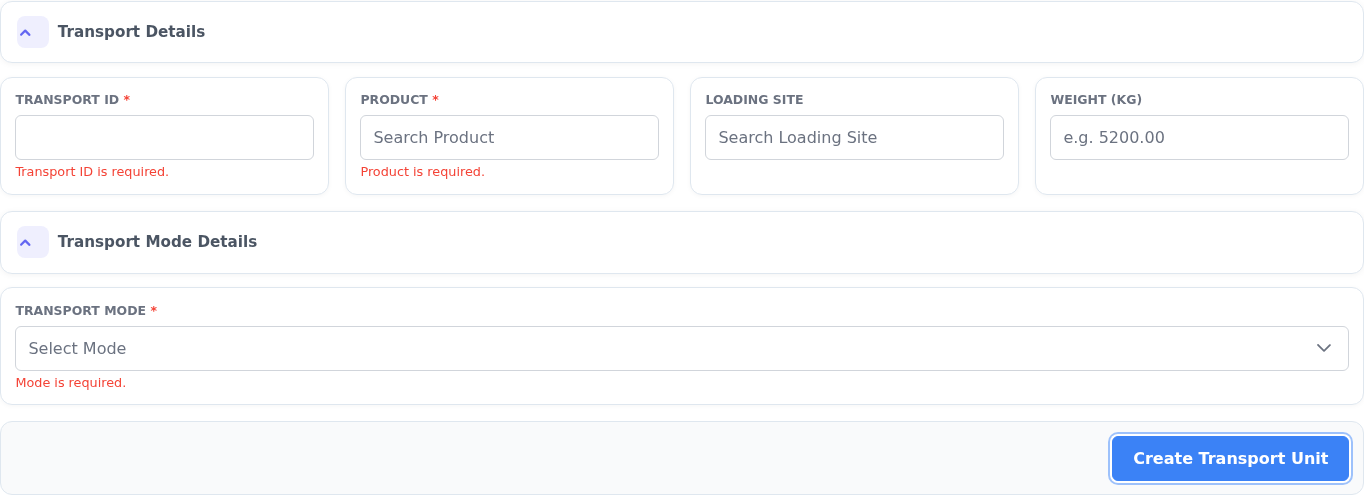
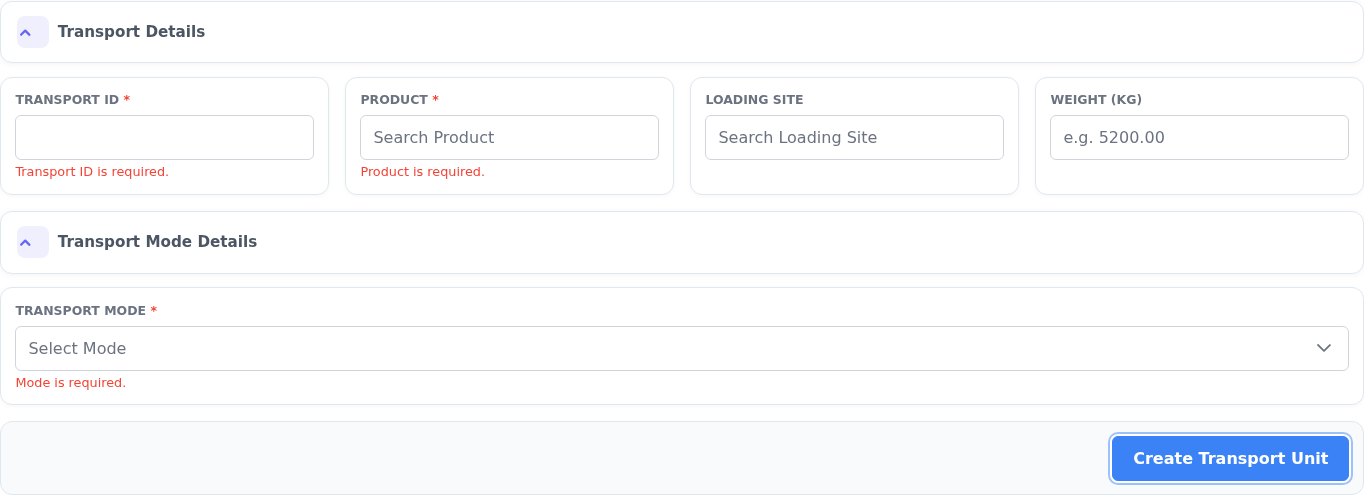
Use Stock Unit > Add Stock Unit to create a Stock Unit and tally sheet. Every Stock Unit gets its own Stock Unit ID automatically (e.g. SU-000123) — this is its permanent identity and never needs to be typed in. Transport ID is optional — use it only to note the actual truck, container, or vehicle involved; the same Transport ID can be reused if the same vehicle comes back. Required fields are Product and Transport Mode. Product type determines whether the measurement grid opens as Round or Square. The next section shows how the Stock Unit page works.

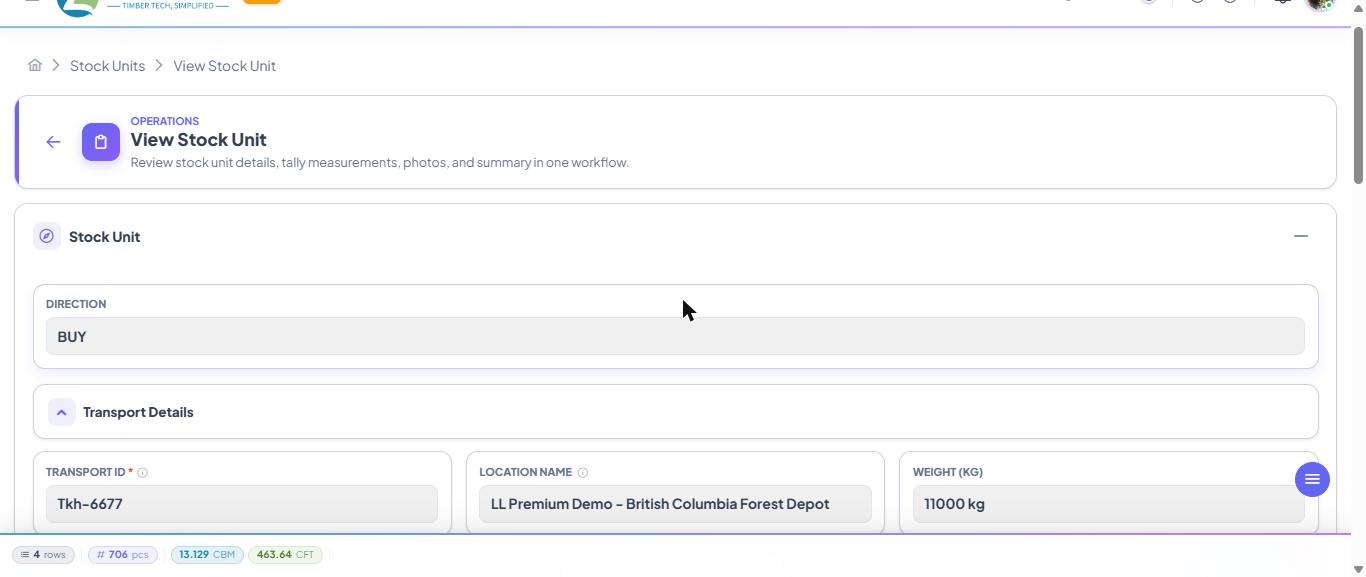
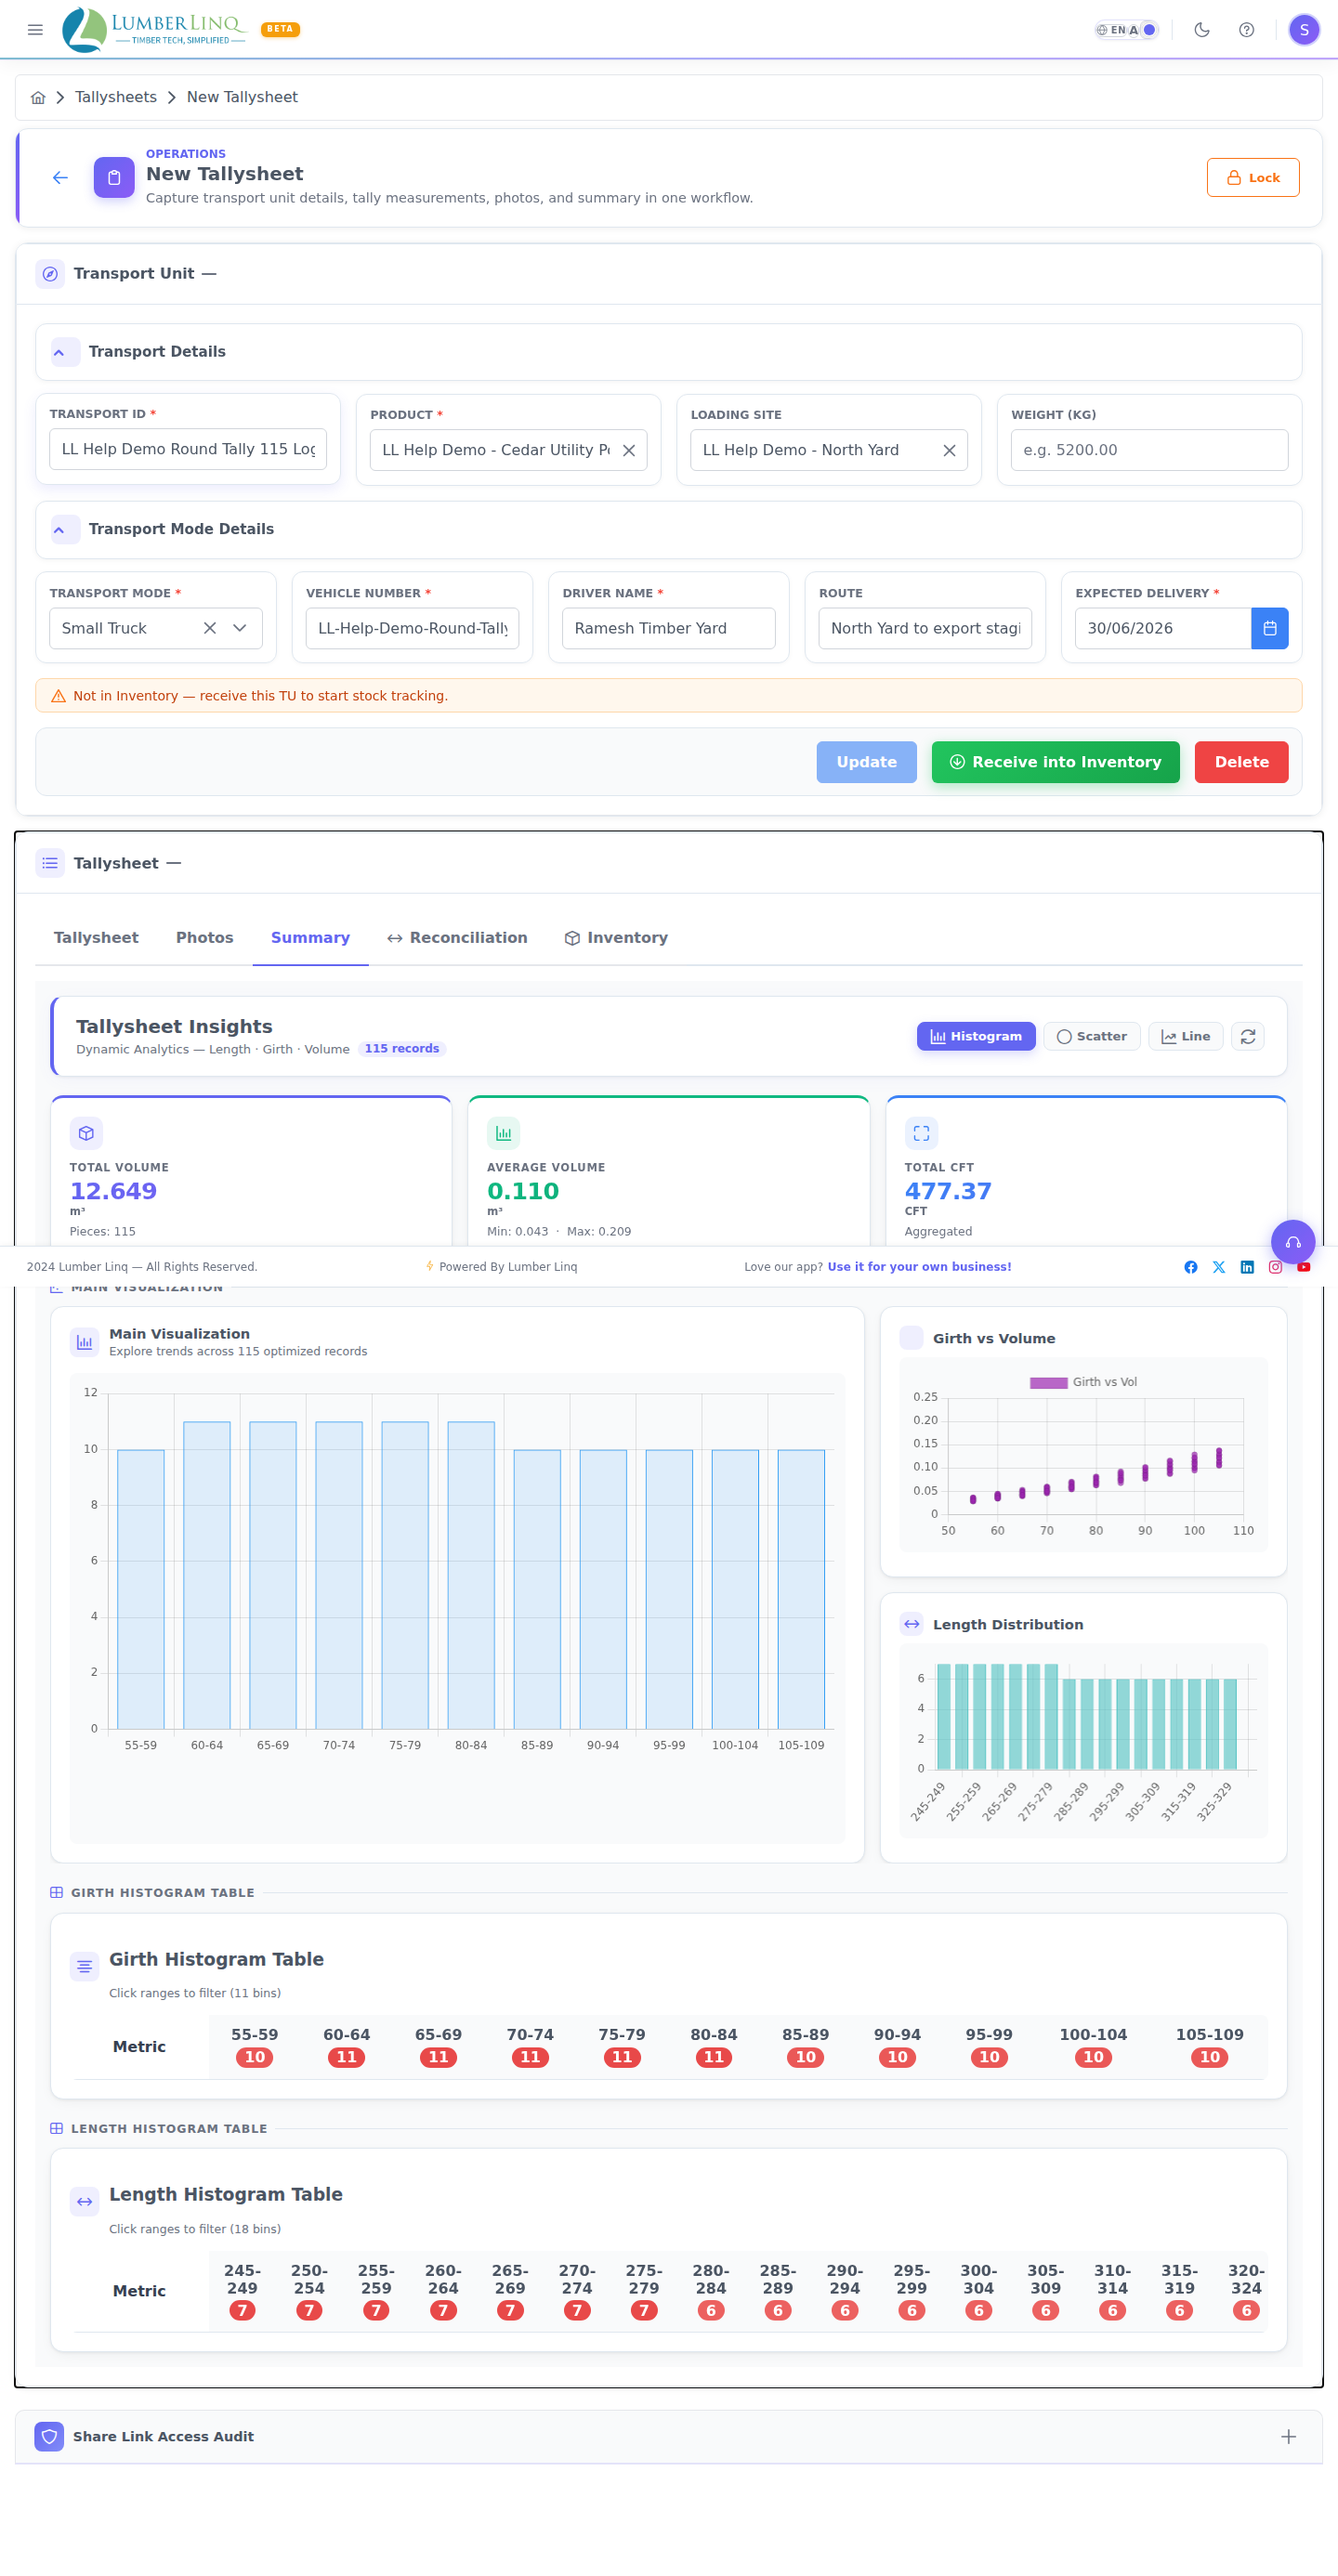
The Stock Unit Page
A new Stock Unit. Fill in the details on the page, then press Save & start tally. The tally waits underneath, locked, with the message “Save the Stock Unit to start the tally”. Every row is stored against the Stock Unit’s ID, so the Stock Unit needs its ID first. When you save, the tally unlocks and you can start typing straight away. The direction (Stock In, Stock Out or Move) cannot be changed after saving.
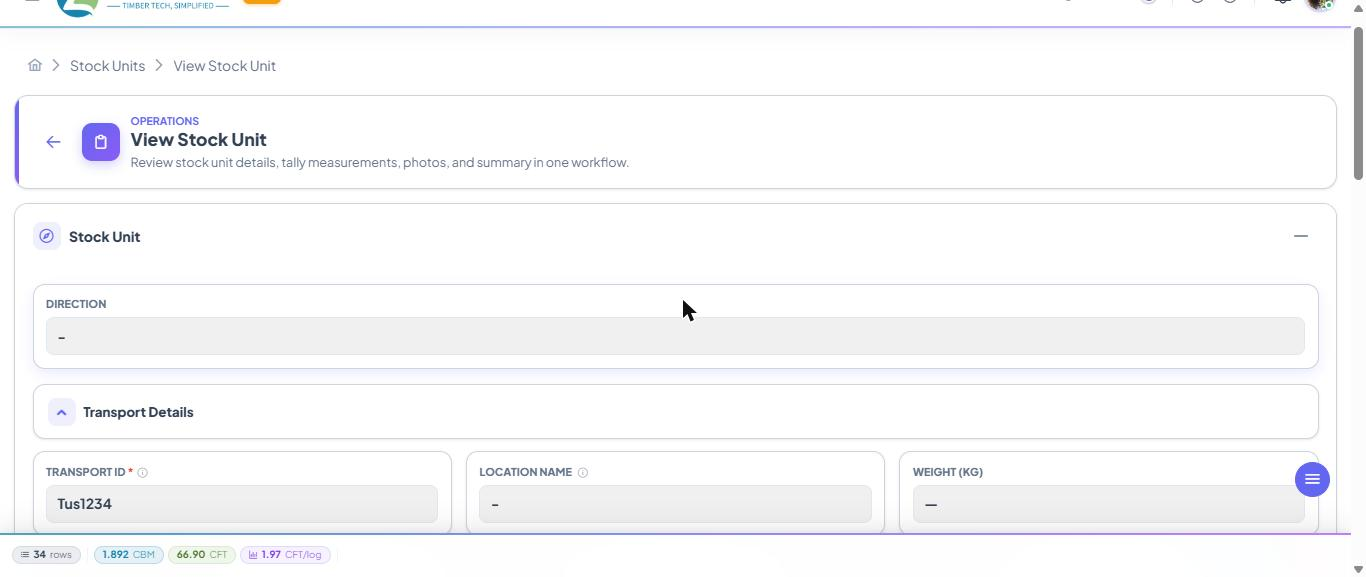
A saved Stock Unit opens on its tally. One strip at the top shows the Stock Unit ID, the product and origin, and small chips: direction, location, Transport ID, vehicle type, Not in inventory or In inventory, and Locked when it is locked. The strip and the tab bar stay at the top while you scroll, and the strip shrinks to one slim row (on a phone it keeps the ID and the buttons; tap the ID to jump back to the top of the page). This works on a phone held upright, on a tablet and on a computer. On a phone turned sideways, or in a very short window, there is too little height, so the page scrolls normally. While the strip and tabs are held at the top, the tally grid fills the rest of the screen, so its column headings stay in view while you scroll the rows. On a phone, the strip and tabs step aside while the keypad is open and come back when it closes.
- Save — one button for everything: the Stock Unit details and the tally rows. A dot (with words on a wide screen) says All changes saved or Unsaved changes. The button shows a spinner, then a tick. The tally’s own save icon in the bar at the bottom still works too.
- Edit details — opens the Stock Unit details in a side panel, or a sheet that slides up on a phone. It holds Transport ID, location, weight, product, origin, quality, vehicle type, container and seal numbers, and fumigation. On a phone, the less-used fields (Weight, Quality, Seal no., Fumigation) sit behind More details. If a field has a mistake, Save opens the panel for you.
- ⋮ menu — Receive into Inventory (Stock In), Confirm Stock-Out (Stock Out), Lock Stock Unit and Delete Stock Unit. An item that is greyed out tells you why, for example add tally rows first.
- Confirm Stock-Out — tap it and a short Checking stock… message shows. If the Stock Out cannot be confirmed (a row has no stock, or there is not enough free), a red box above the tabs names the rows and what to do, so you do not need to open the details panel. When it is confirmed the unit locks by itself, like Receive into Inventory does: its rows cannot be changed any more and the Lock item disappears. Photos and documents can still be added, and Reconciliation keeps its own lock. A confirmed Stock Out no longer shows the live Stock Availability box or the “need a quick look” banner, because its wood has already left stock.
- Tabs — Tallysheet, Photos, Summary, Reconciliation (not on a Stock Out) and Inventory (with the Inventory right). The other tabs load quietly in the background, so switching is quick; if you open one before it is ready, a short loading card shows.
Rows and columns stay where they are. You cannot drag a row or a column in the tally grid. Use Columns to show or hide columns.
Round Tally Sheet
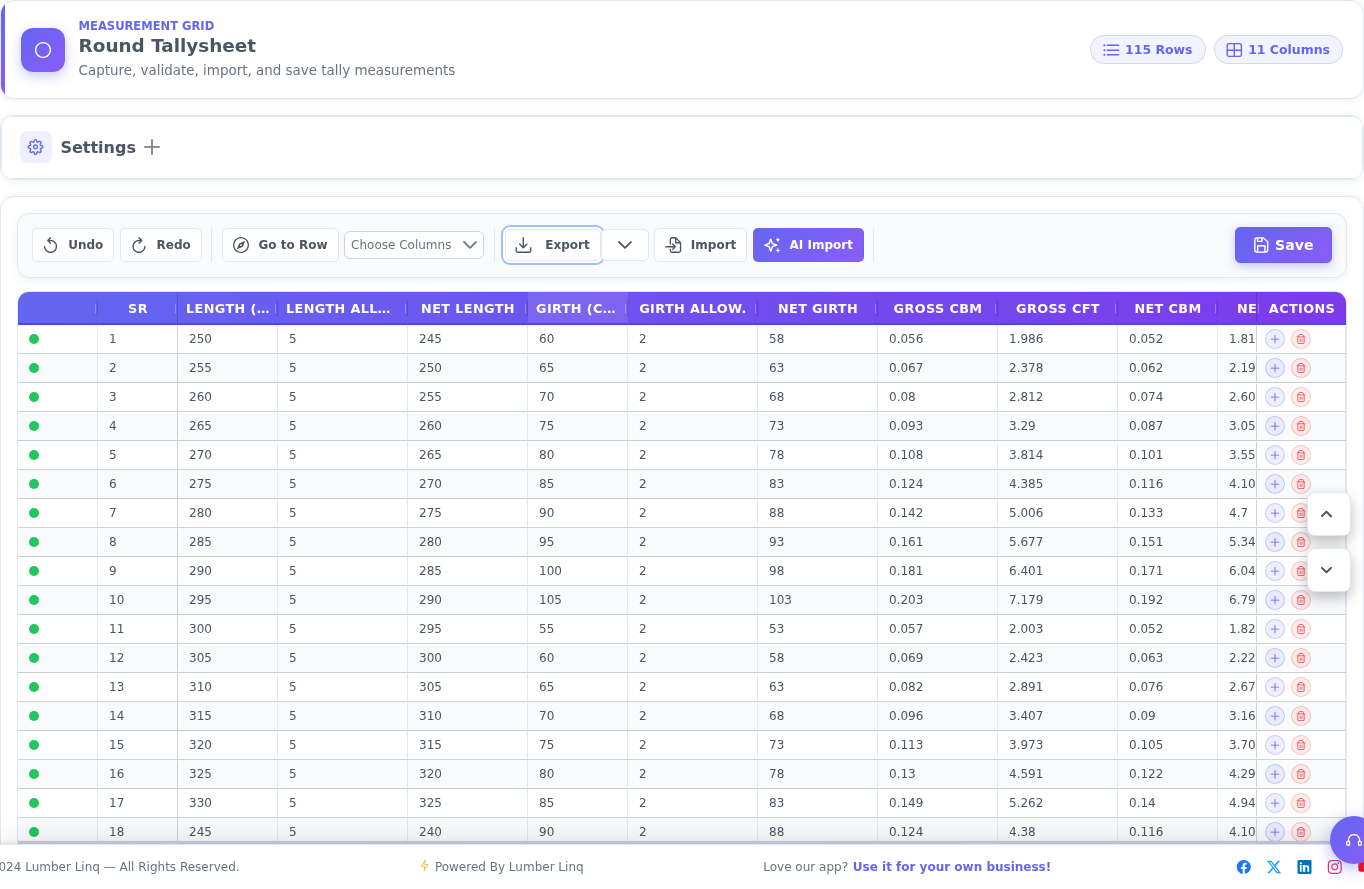
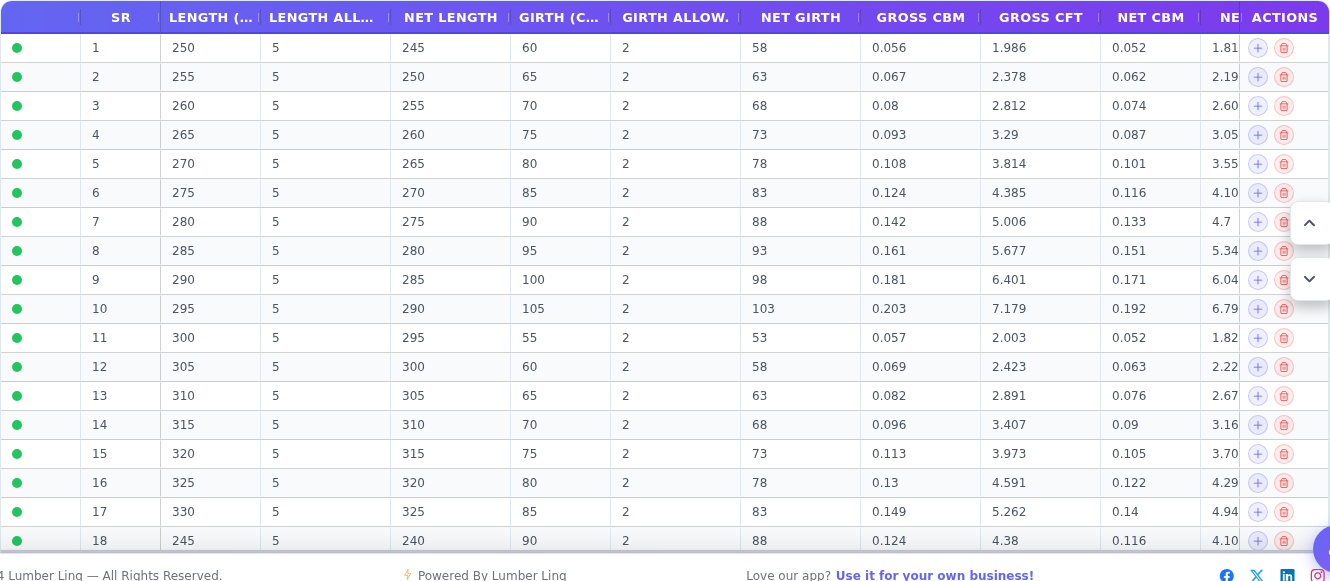
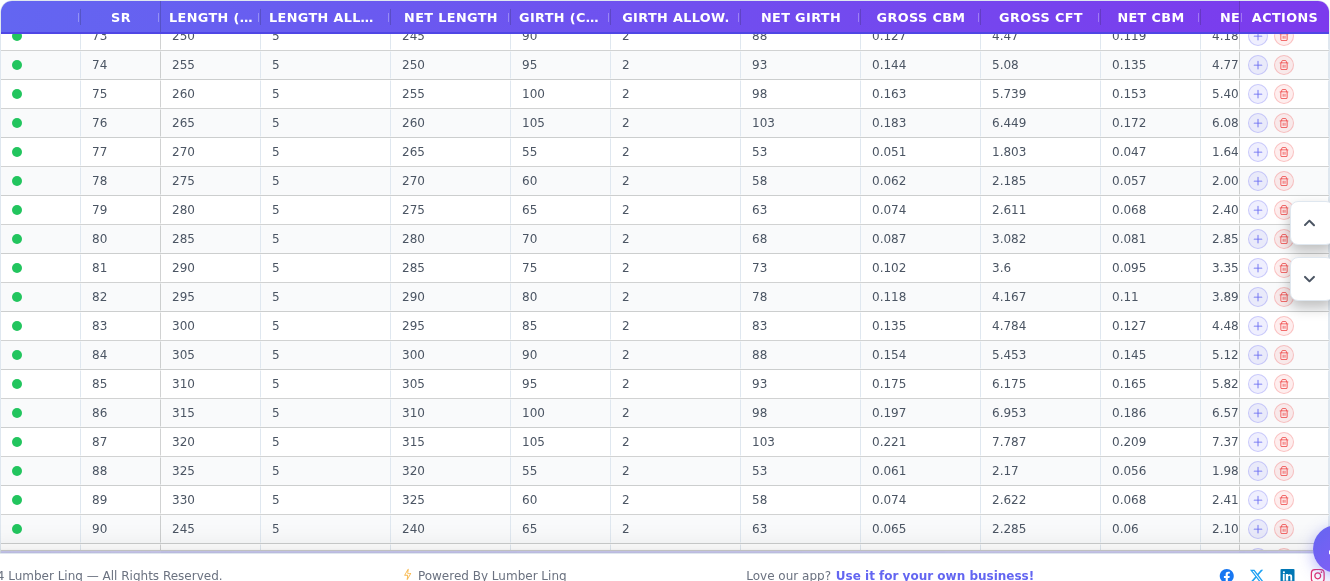
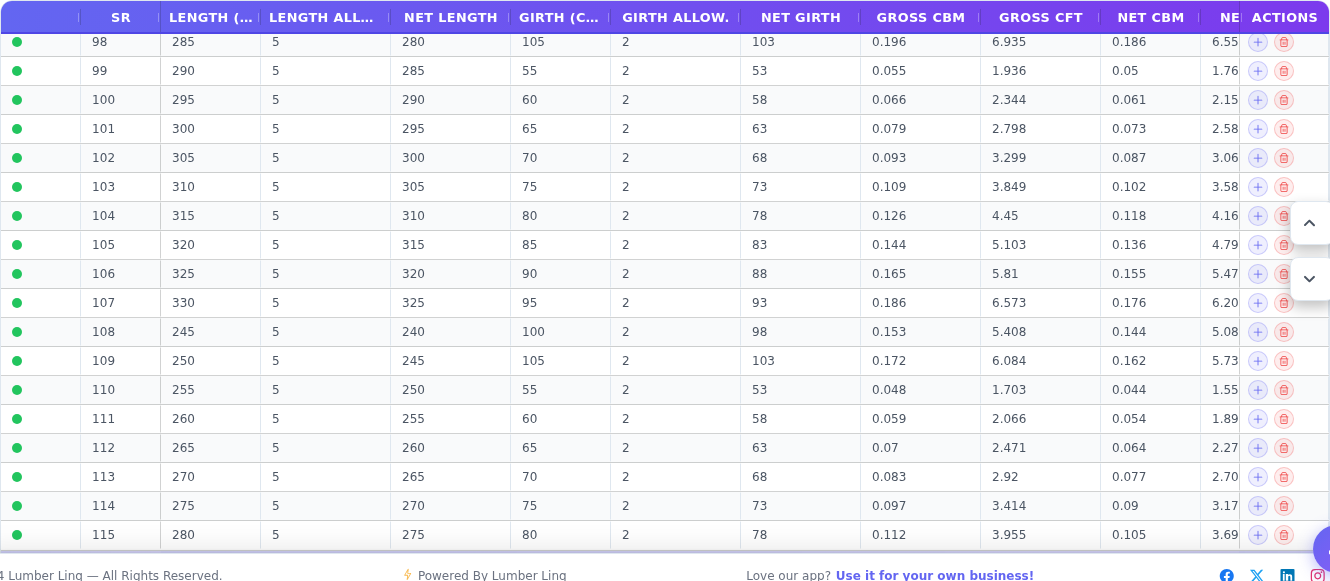
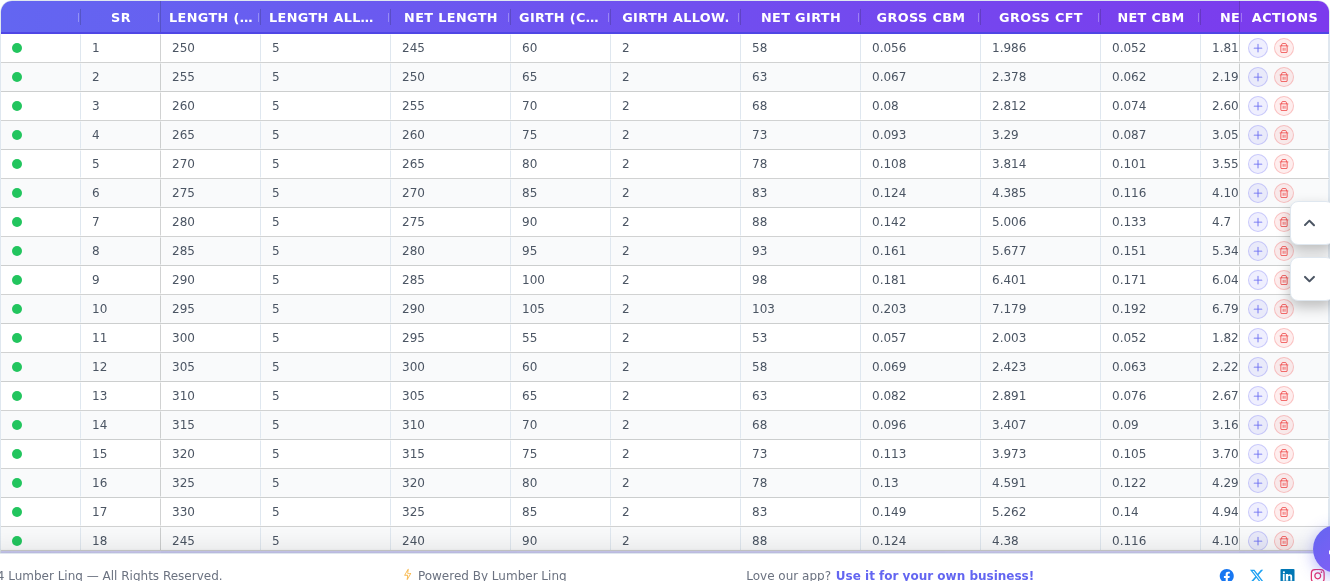
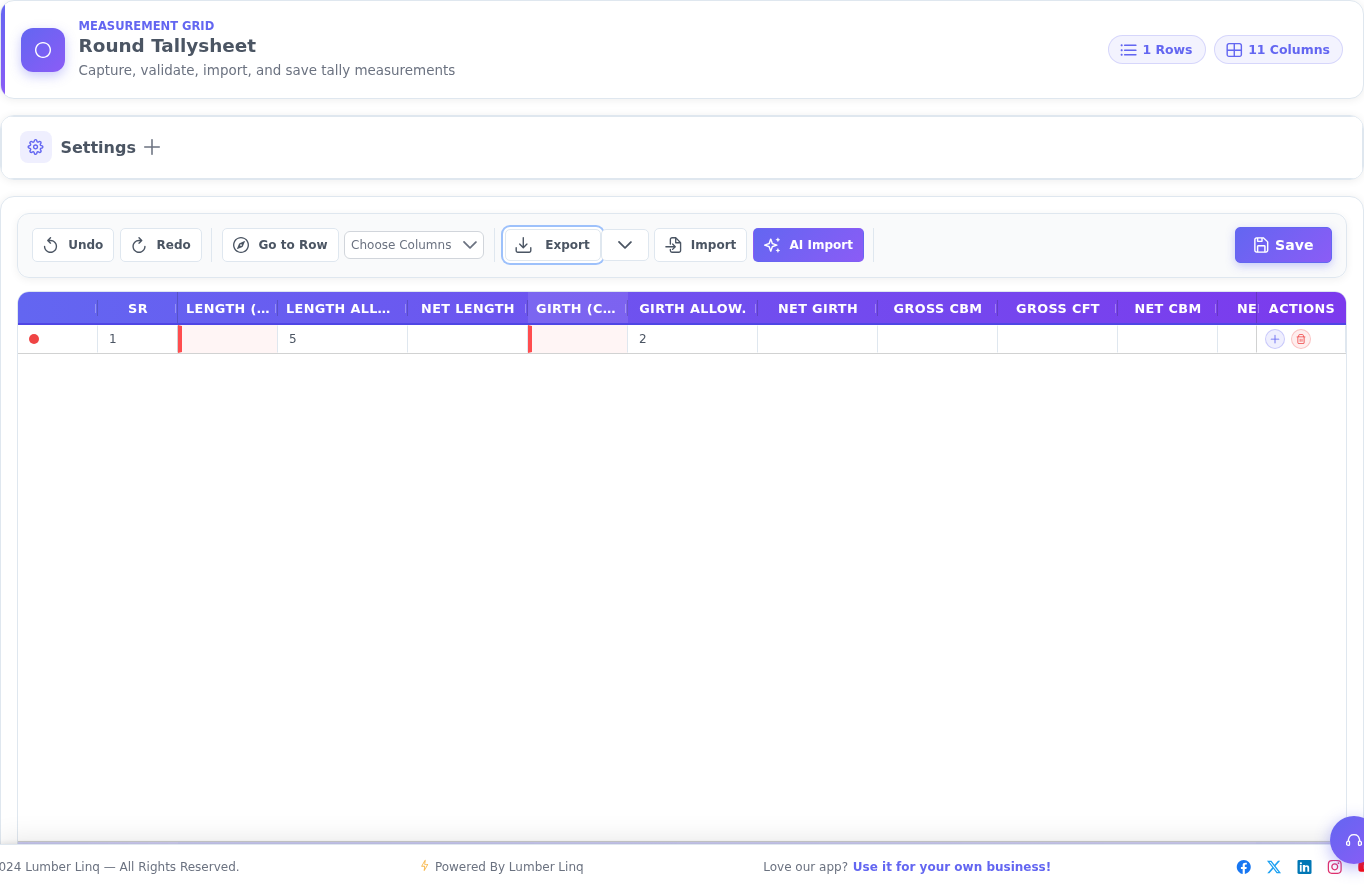
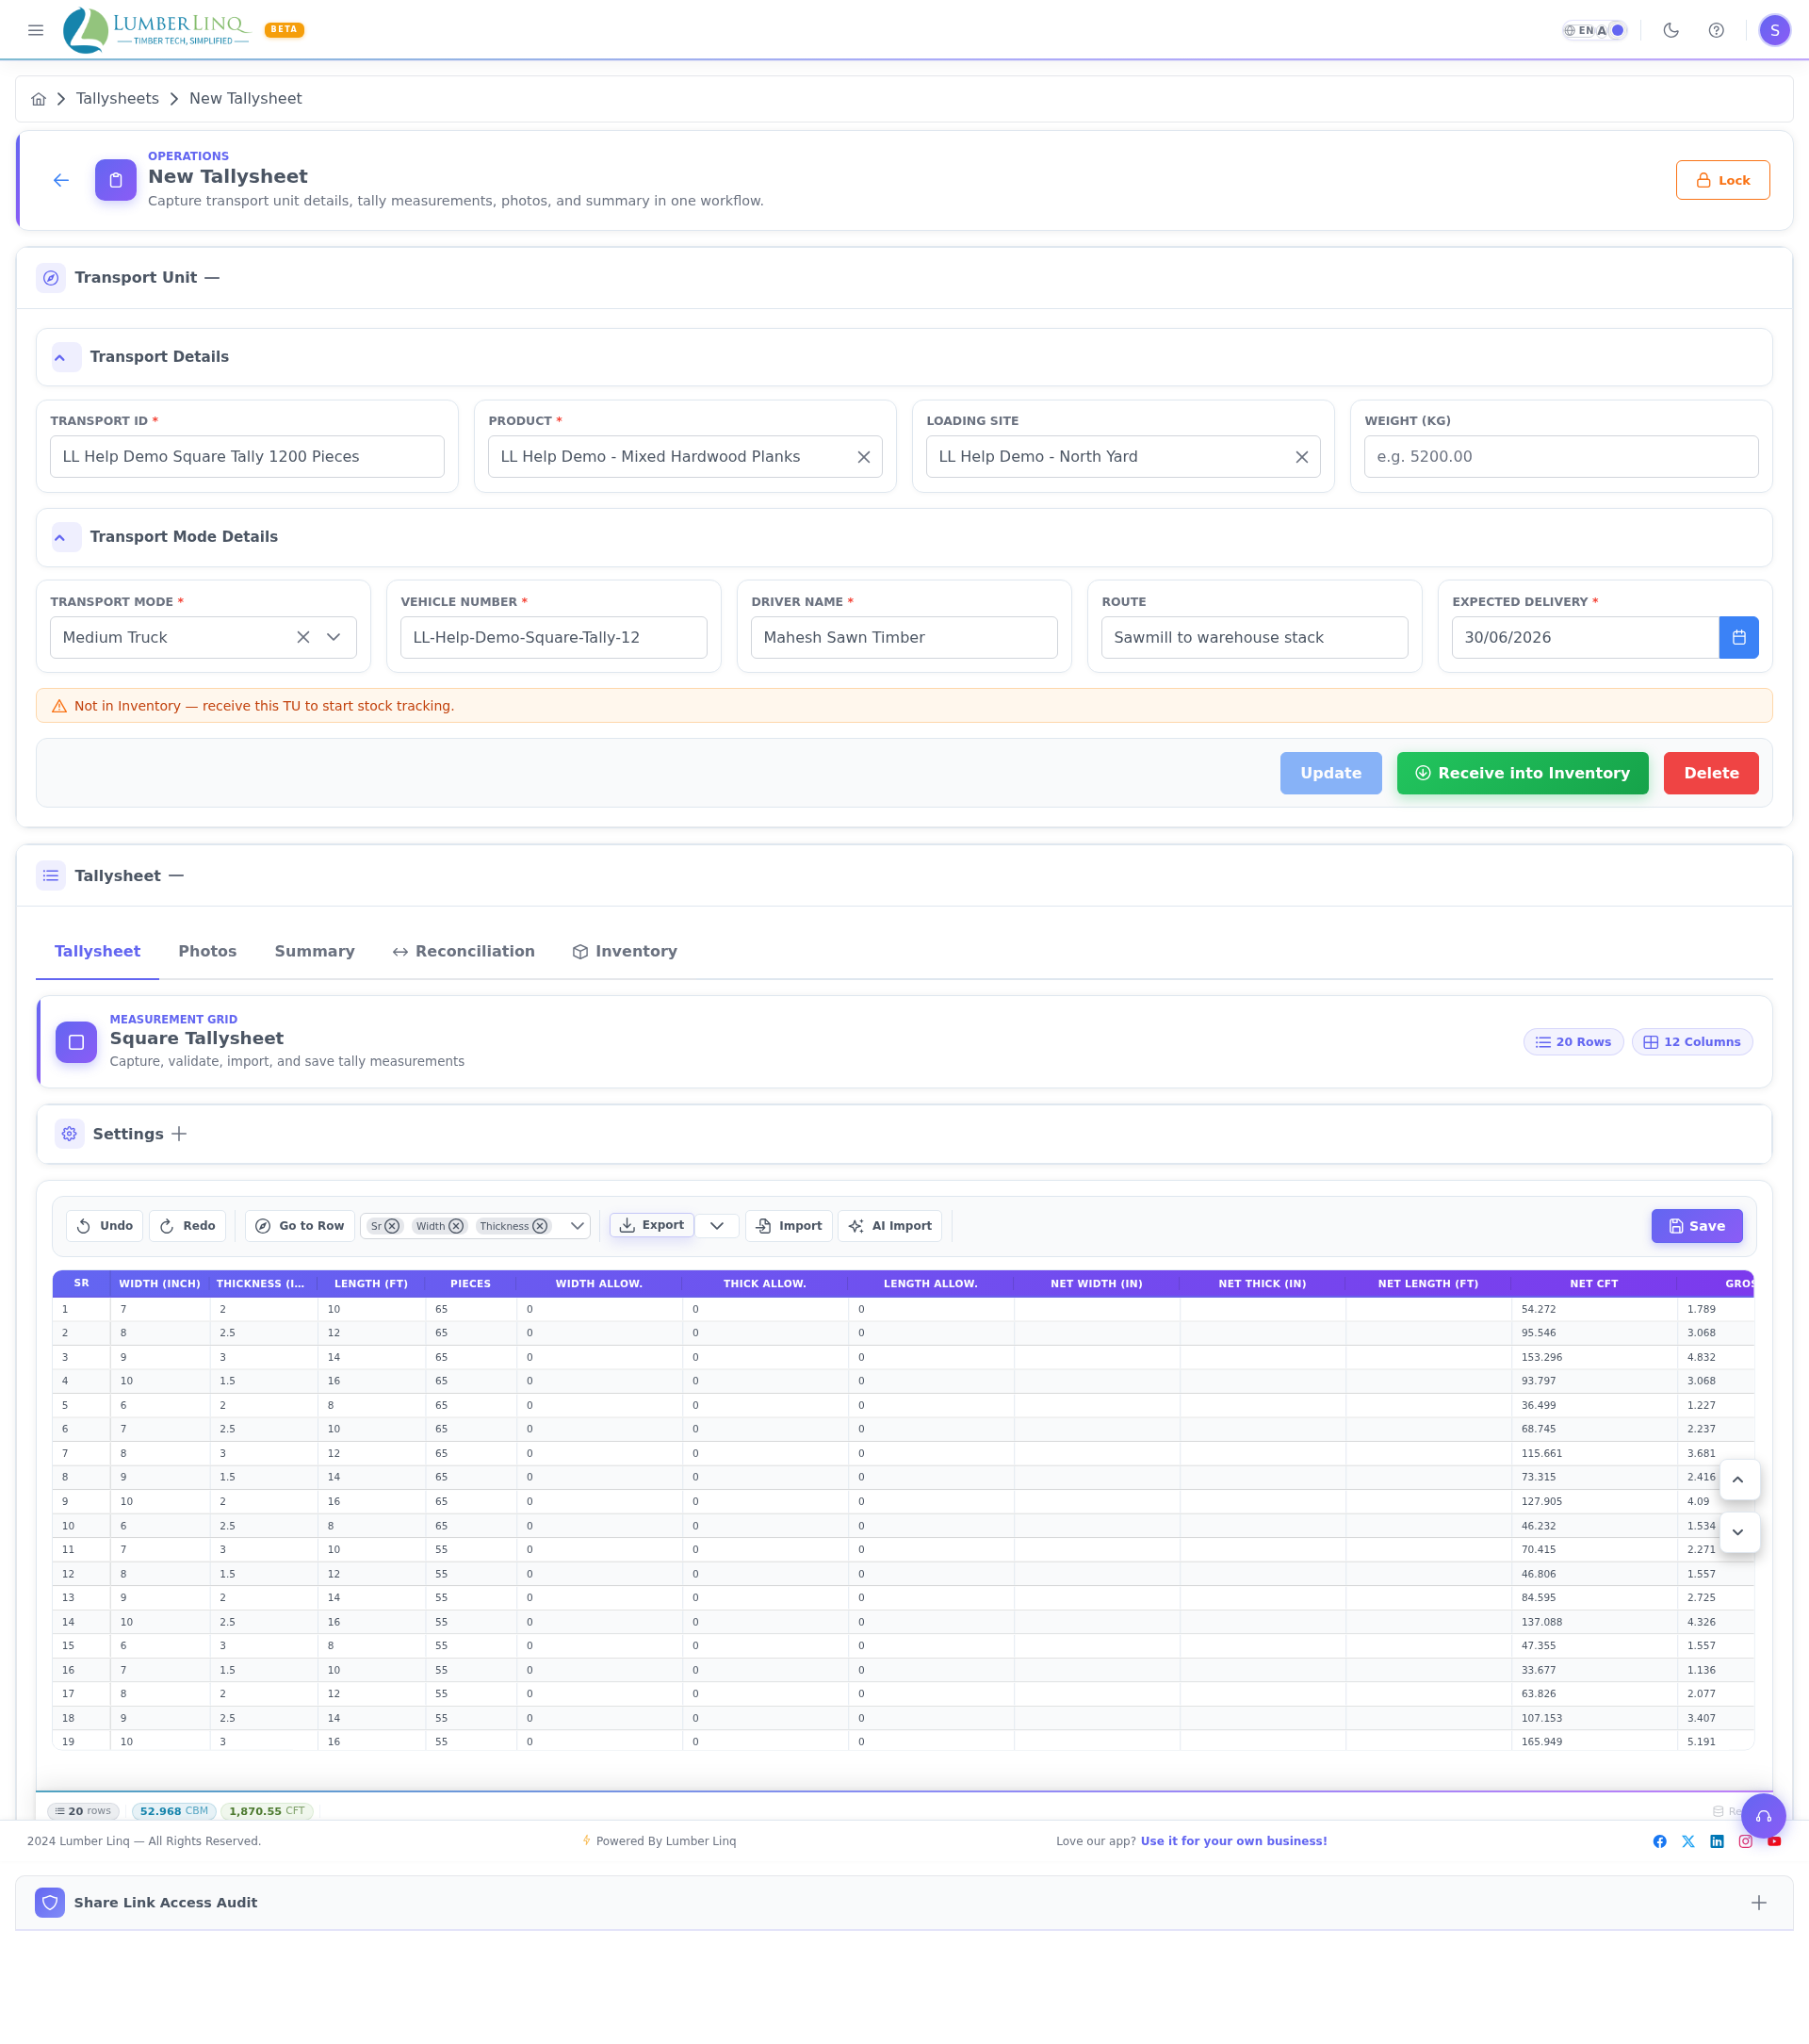
Round tally sheets capture log measurements using Length and Girth. The grid automatically calculates gross and net CBM/CFT values.
Key areas:
- Measurement grid
- Volume calculation columns
- Summary tab
Square Tally Sheet
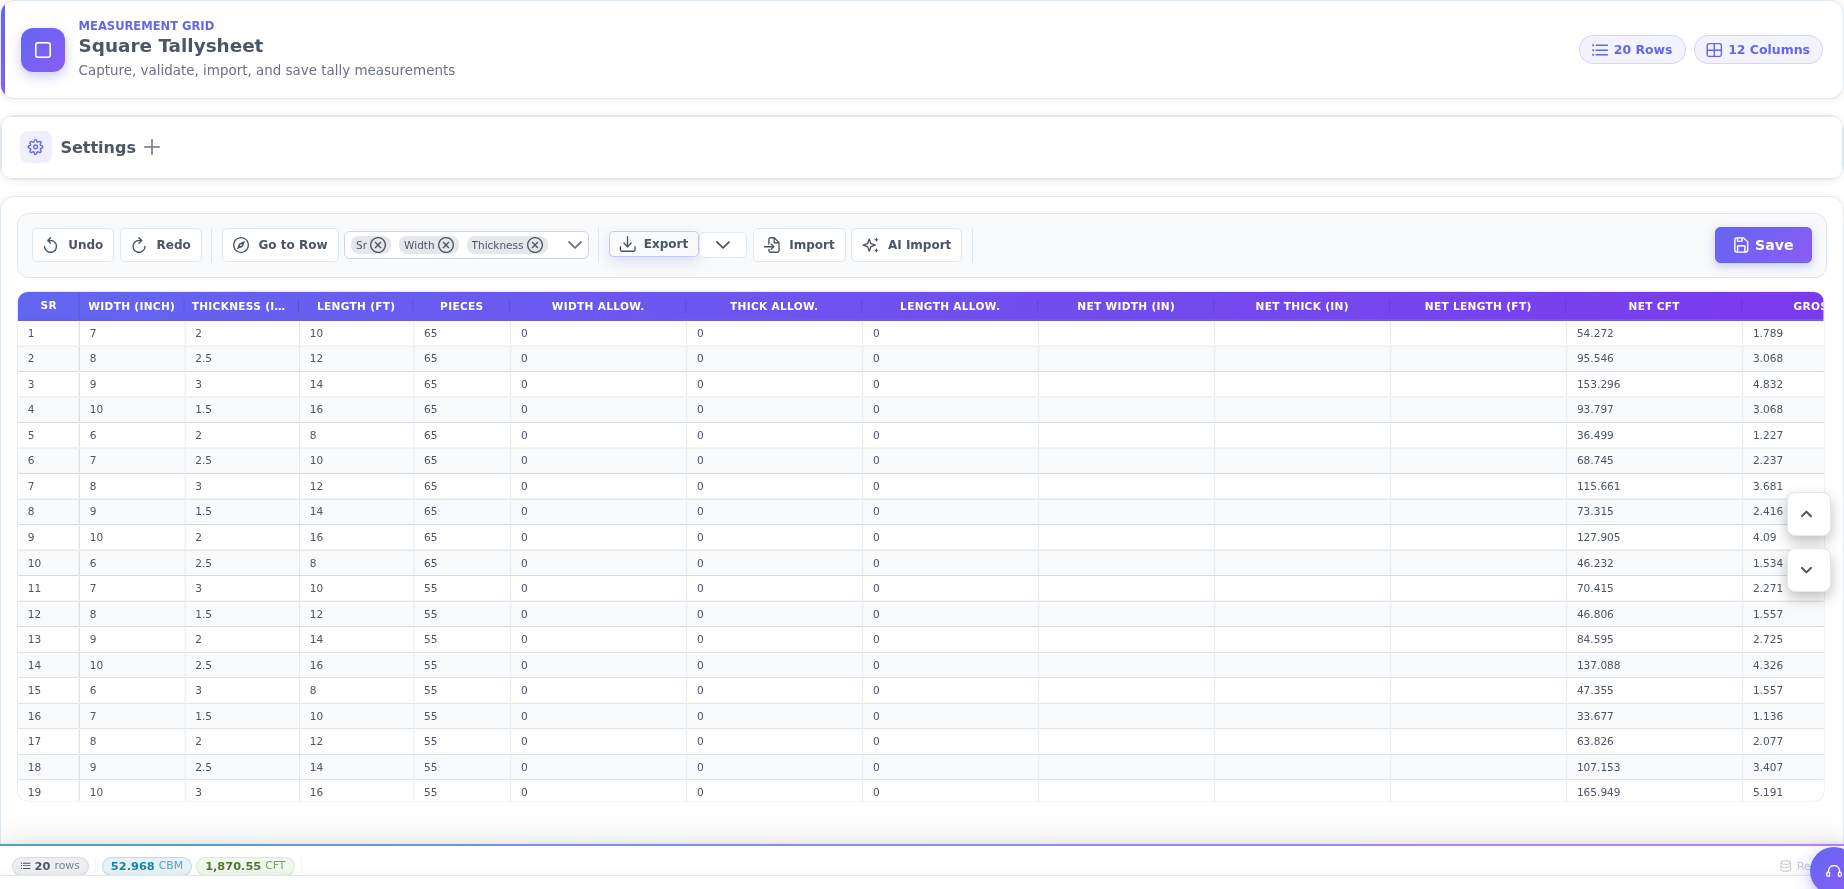
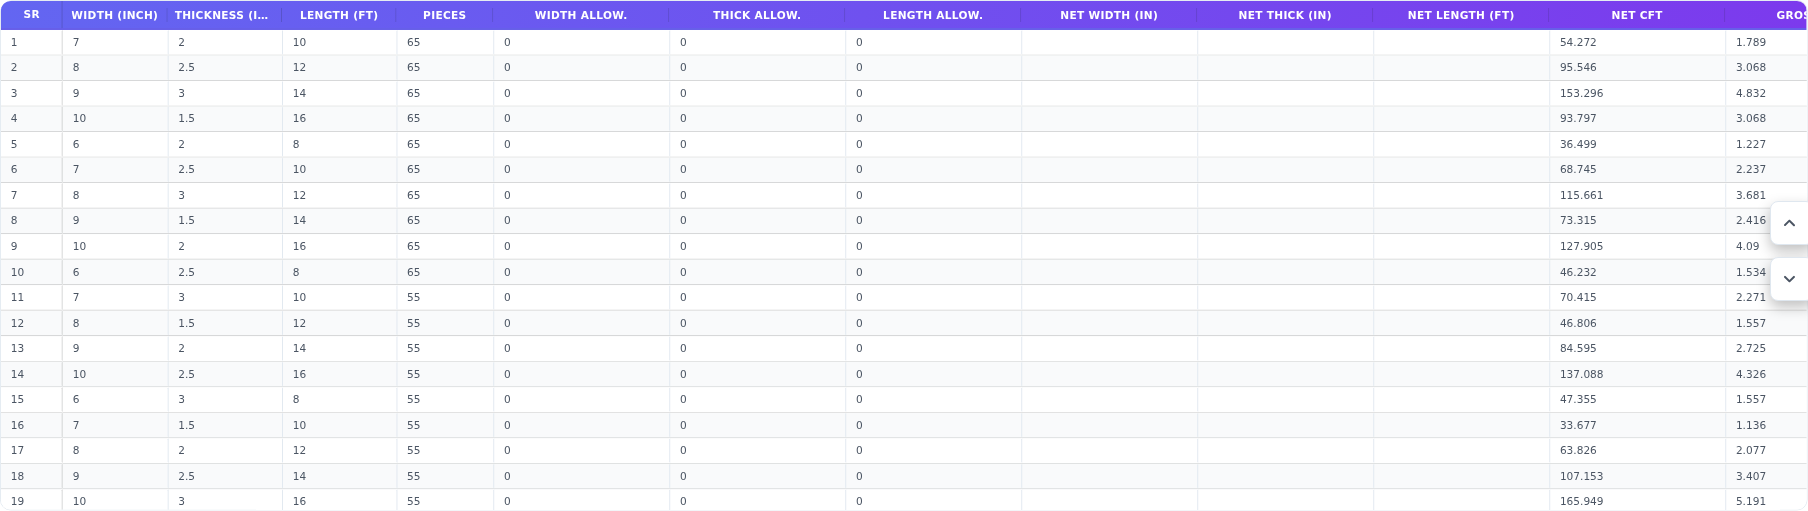
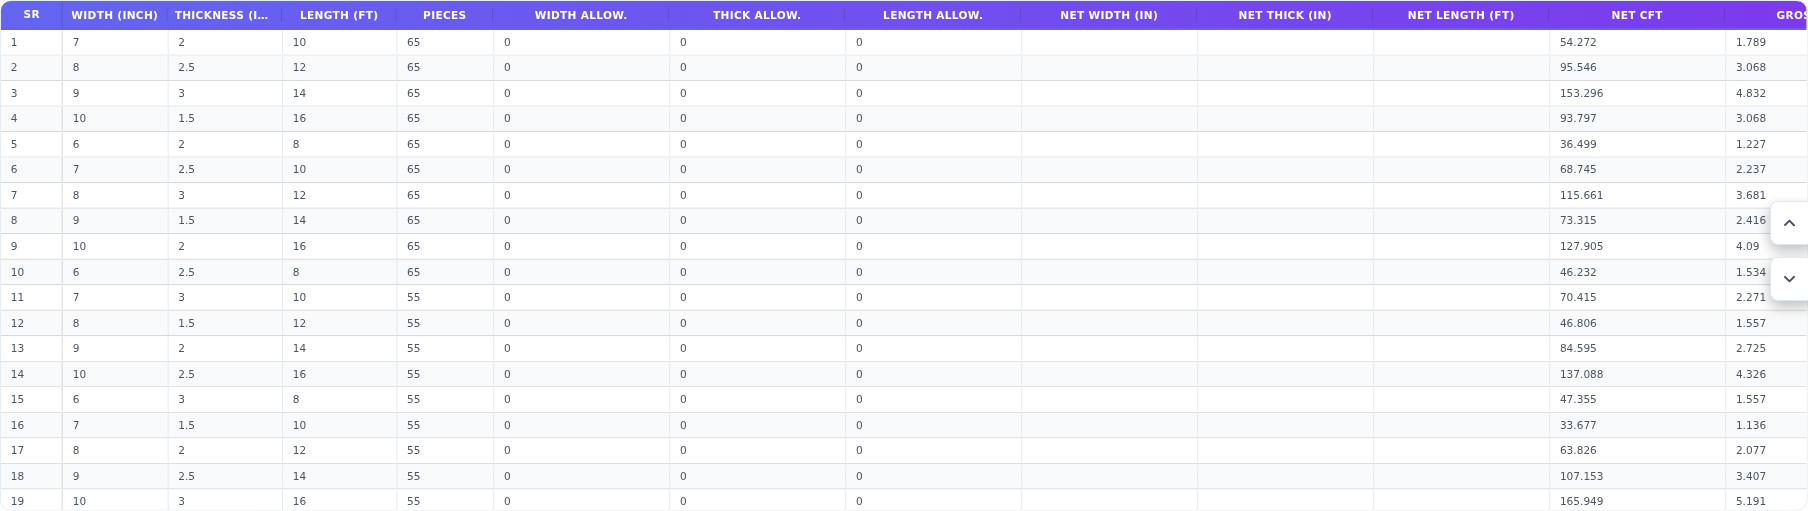
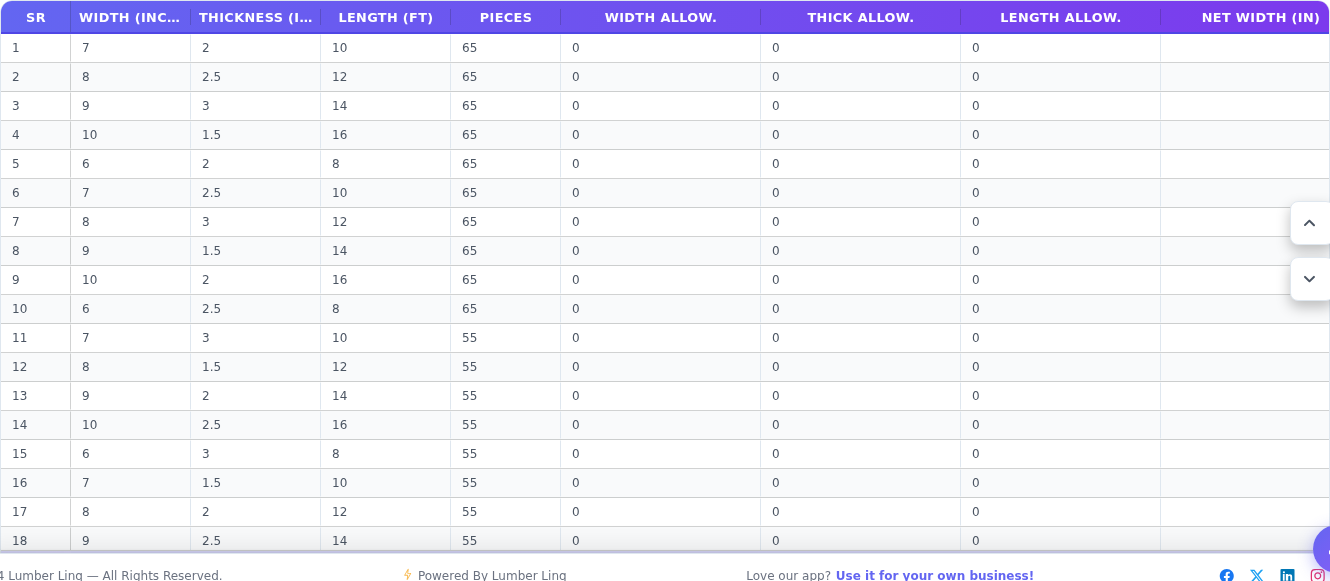
Square tally sheets capture Width, Thickness, Length, and Pieces. Columns are displayed side-by-side in a wide layout so all key fields are visible together.
Settings and Configuration
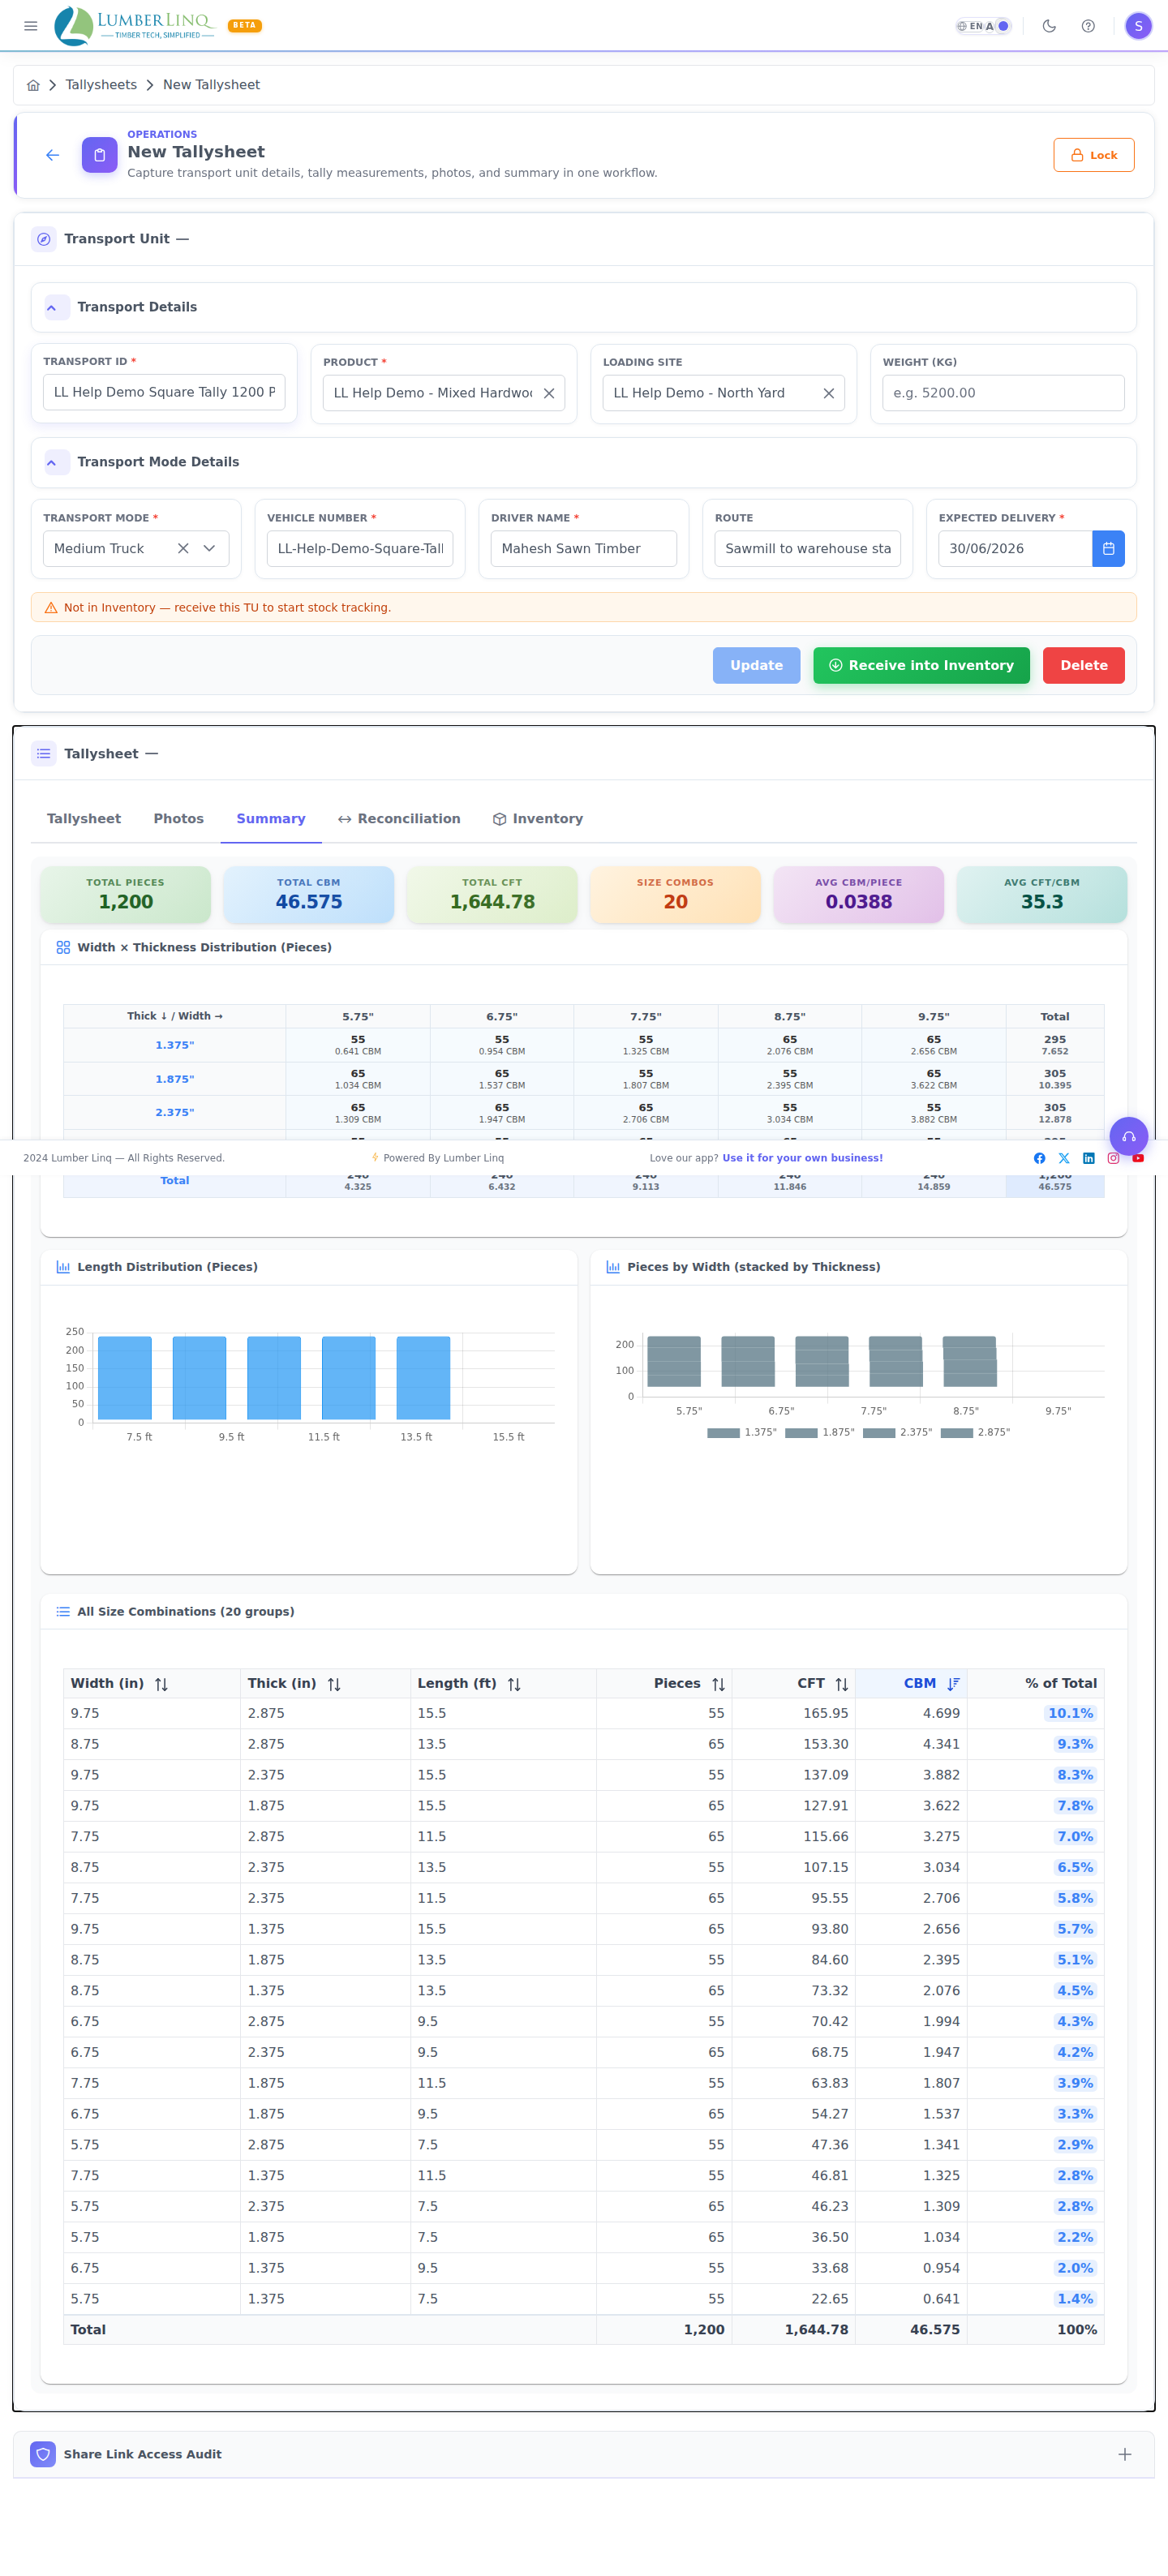
Use Settings to control validation rules, unit of measure, allowances, decimal precision, visible columns, and copy behaviour.
Round settings include:
- Divisible by 5
- Length range
- Girth range
- Length UoM
- Girth UoM
- Decimals
- Copy Previous Length
- Add to Length
- Length and Girth Allowances
- Visible columns
Square settings include:
- Width UoM
- Thickness UoM
- Length UoM
- Decimals
- Width, Thickness, and Length Allowances
- Visible columns
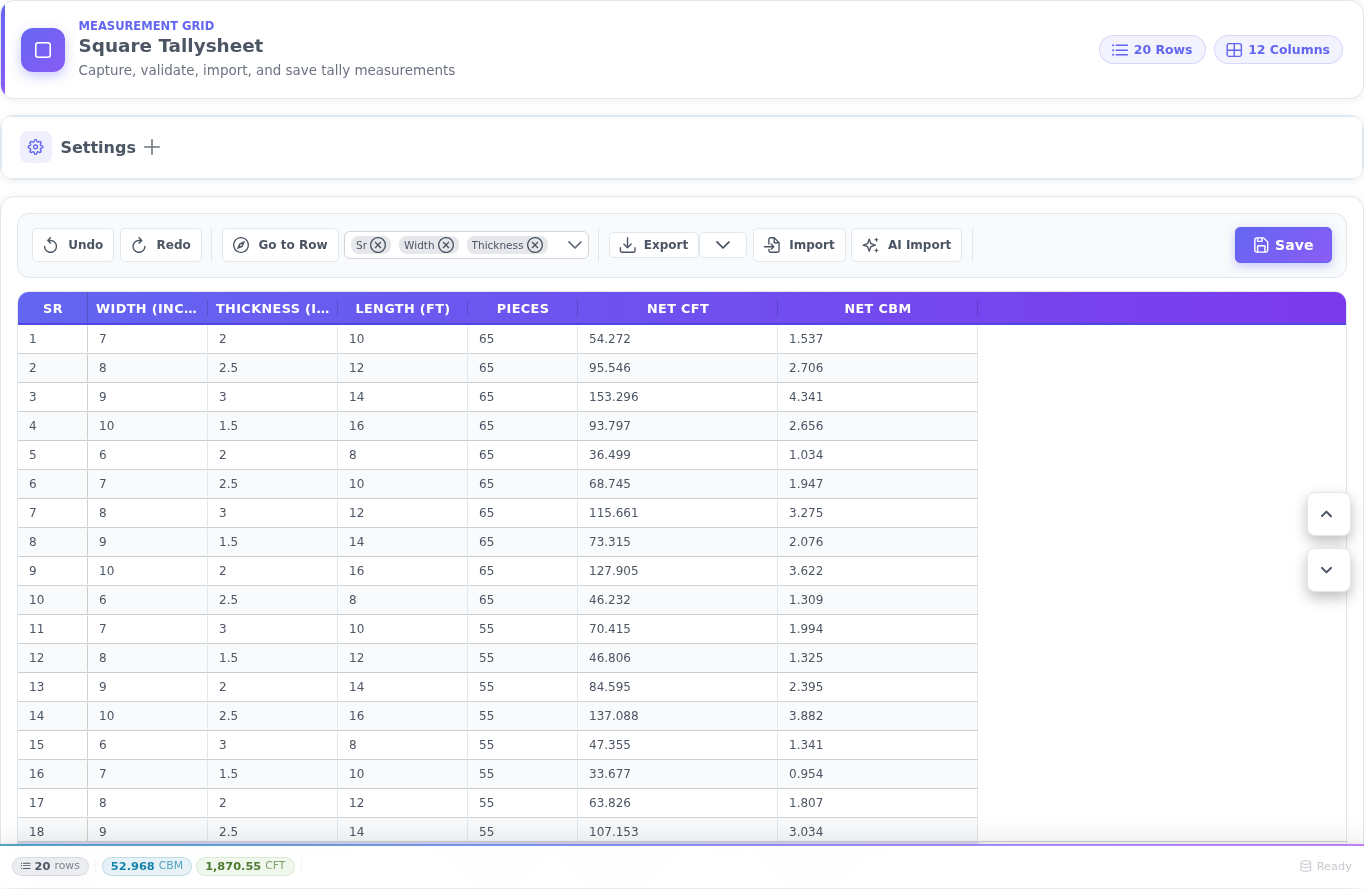
Toolbar Features
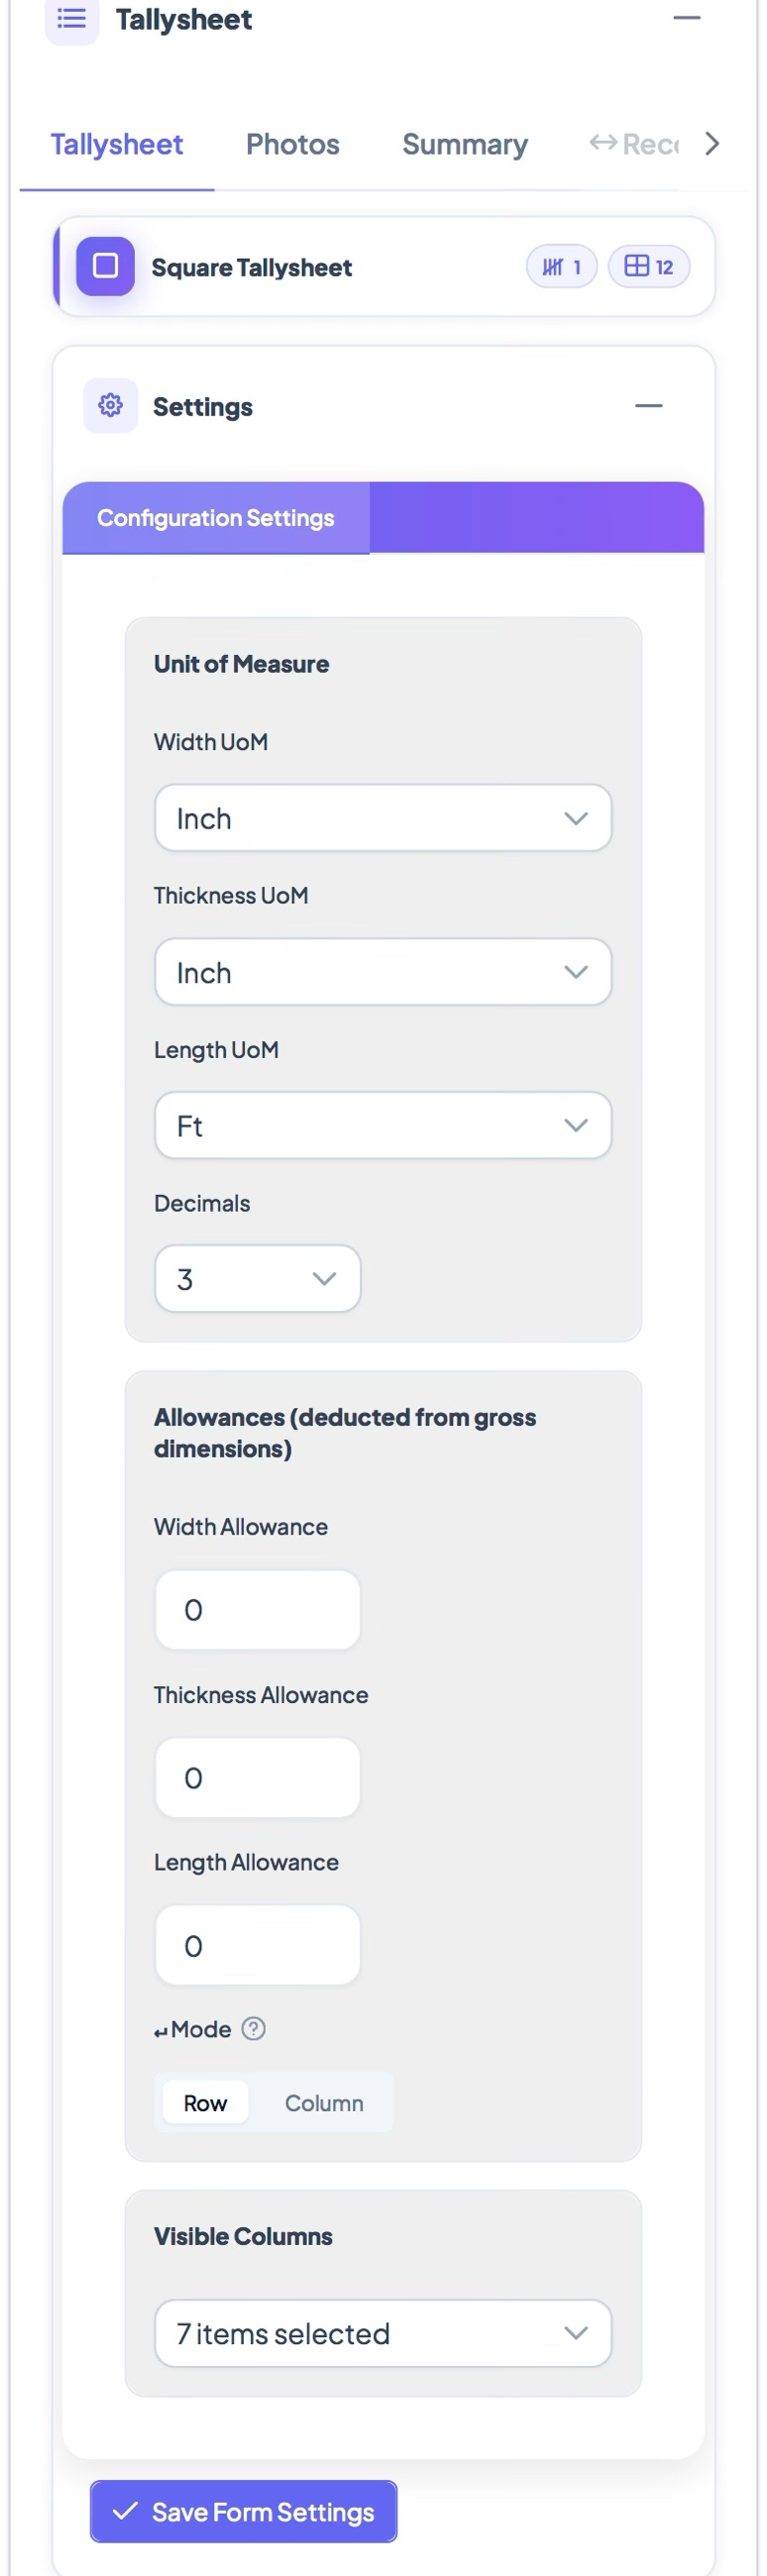
The tally grid toolbar includes:
- Undo
- Redo
- Go to Row
- Choose Columns
- Export
- Import
- AI Import
- Save
The Export menu shows Excel, PDF, Bundle, and Advanced options.
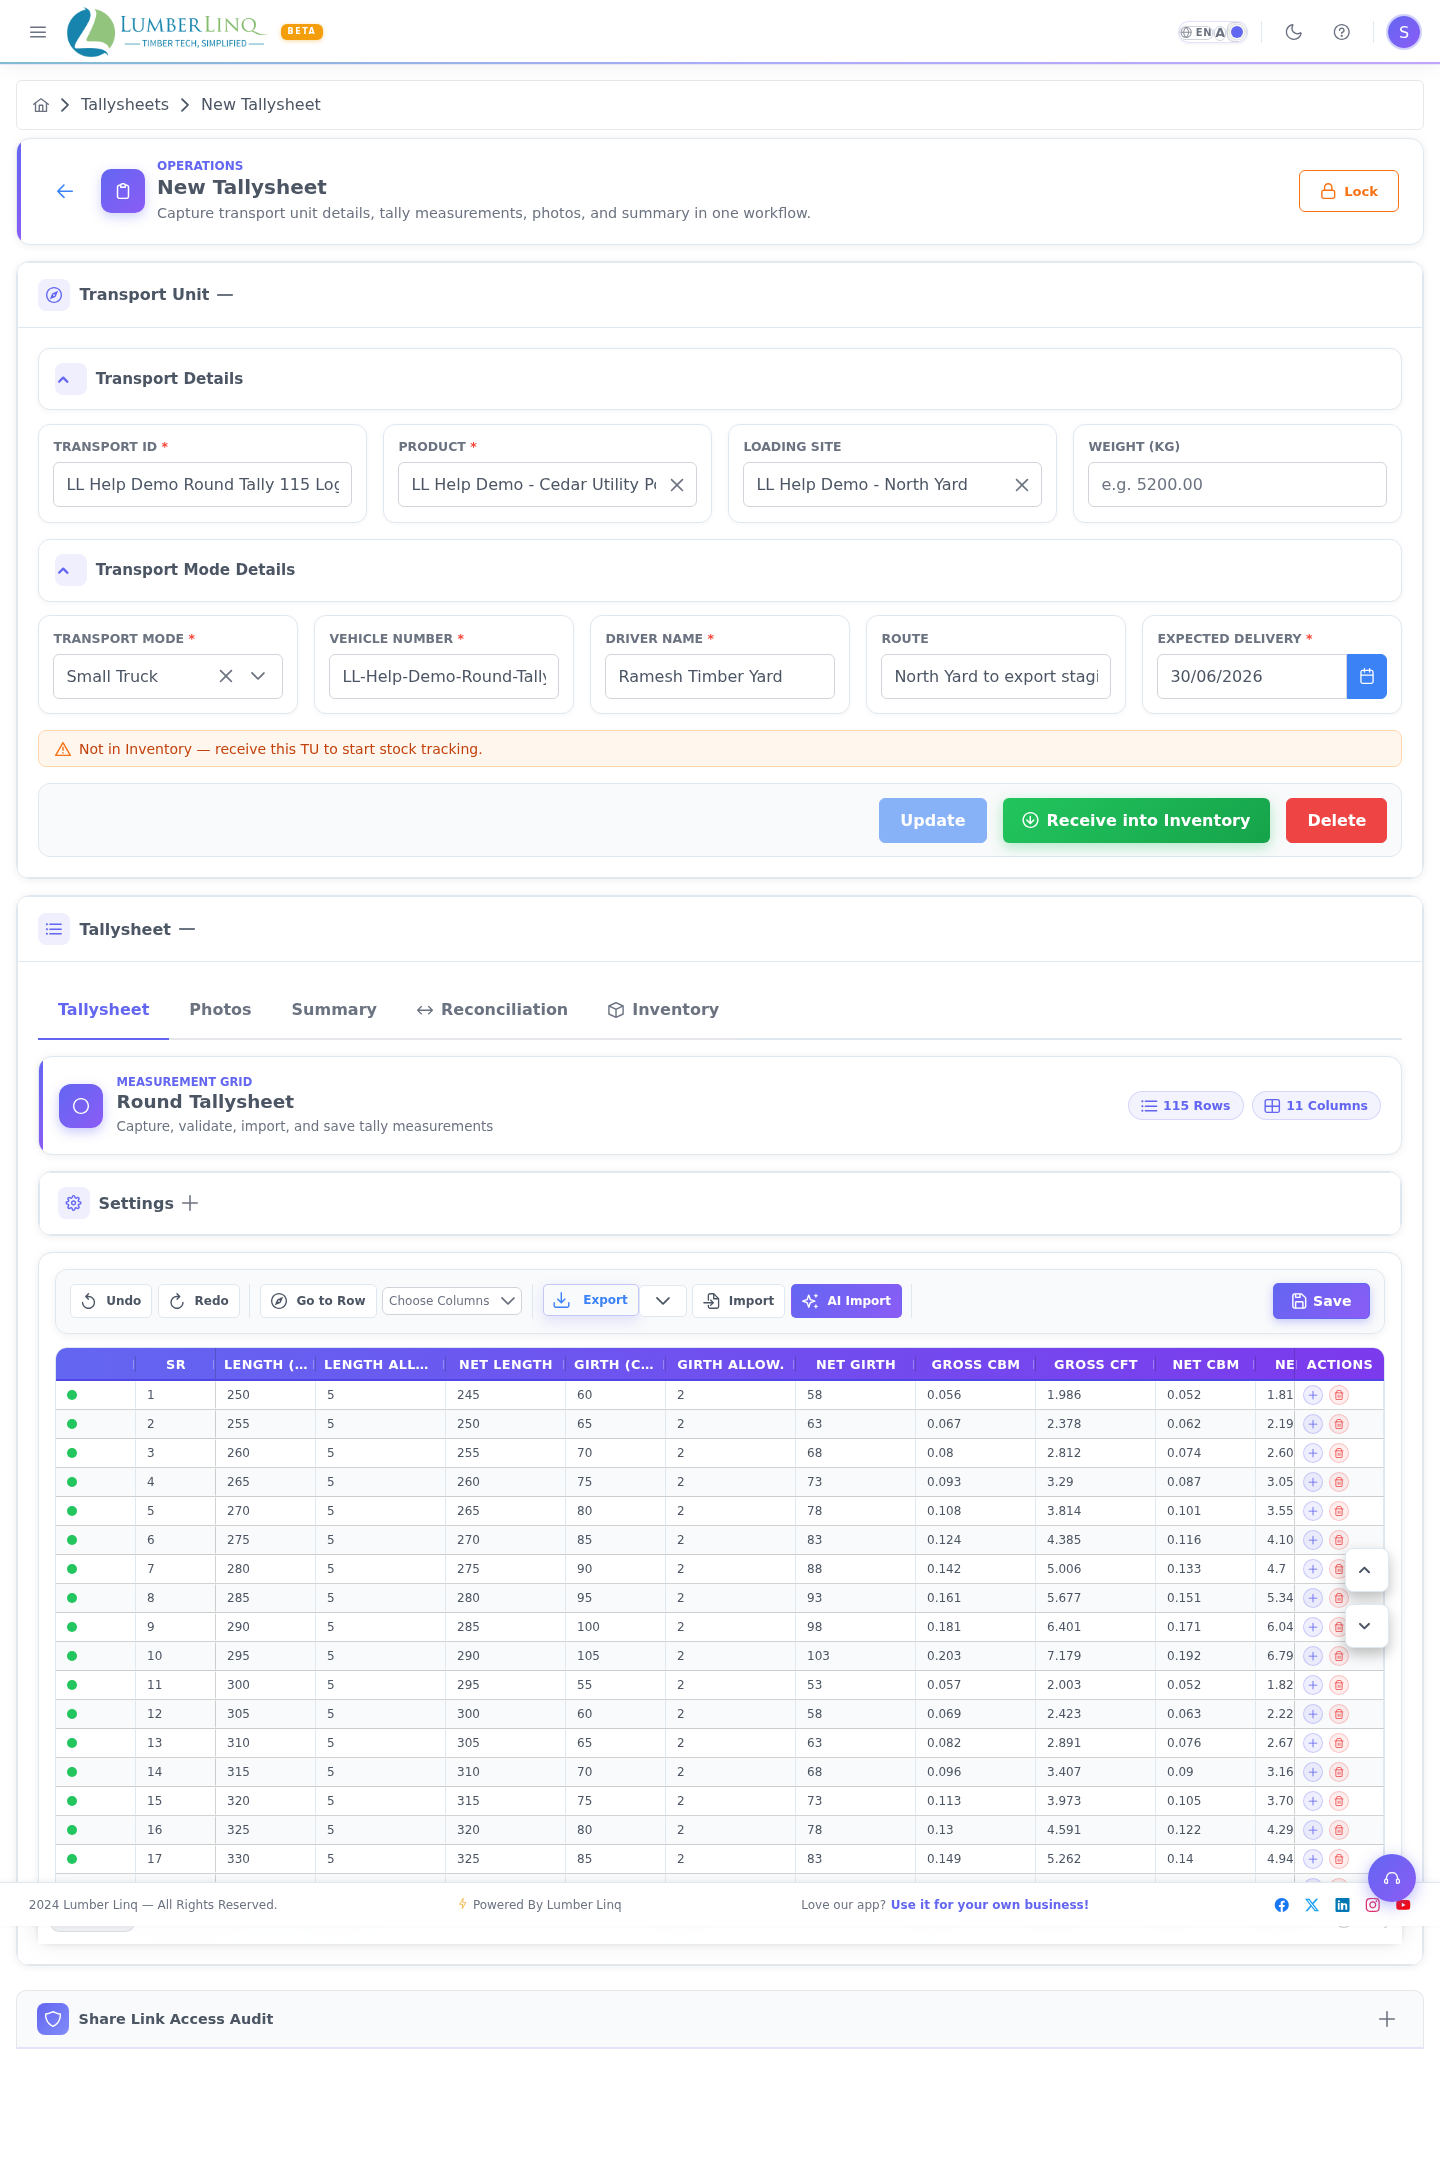
Row Actions
Each editable grid row includes actions for adding a row below and deleting a row. Copy Previous Length is controlled from Settings and applies when adding rows.
Keys while entering rows.
- Enter moves to the next field (Round: Length → Girth → the next row; Square: Width → Thickness → Length → Pieces → the next row). On the last row it adds a new row. Enter only ever moves forward, so you can type as fast as you like.
- Shift+Enter (Round tally) saves the value you are typing and adds a new row right below the current one. The same is done on a phone with the + ↓ button in the keypad bar, next to the row arrows.
- Ctrl + arrow keys move between cells; Ctrl+Enter moves on even when a value is not valid.
- The numpad Enter key works like the main Enter key, also in the side menu.
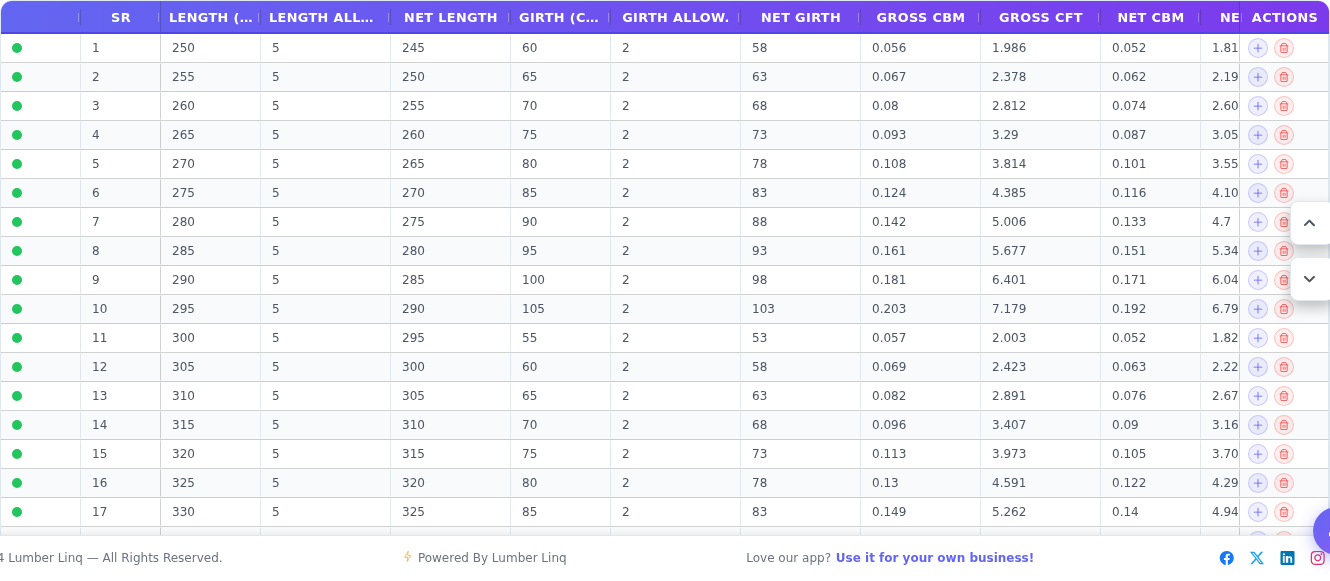
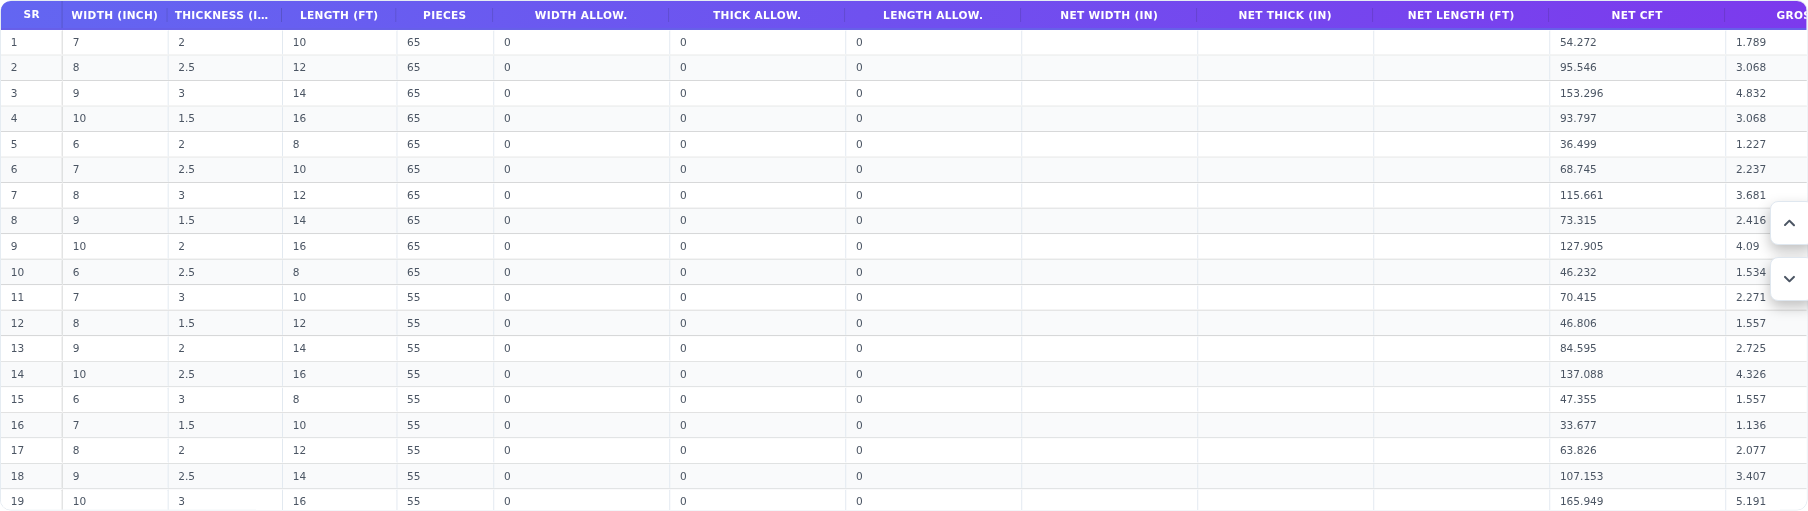
Status Bar
The status bar shows row count, gross CBM/CFT, unsaved count, save progress, saved state, and readiness.




Validation
Validation prevents incomplete or invalid tally data from being saved. Round validation covers required length/girth and configured ranges. Square validation covers required width, thickness, length, and pieces.
Range rules only warn. A value outside your configured range (or not divisible by 5, when that rule is on) is kept and its cell turns amber as a warning — it is never cleared or blocked. Warnings show while editing only.
Pick from the list. On the Stock Unit form, Product, Location (Loading Site) and Destination Site must be picked from the suggestion list — text typed but not picked is cleared with a “Required” message when you leave the field. The same applies to a Consignment’s ports, Shipper, Consignee and Notify Party.
If pressing Enter after the last row adds an extra blank row that’s never filled in, it’s automatically ignored when you save — you don’t need to delete it by hand.
Mobile View
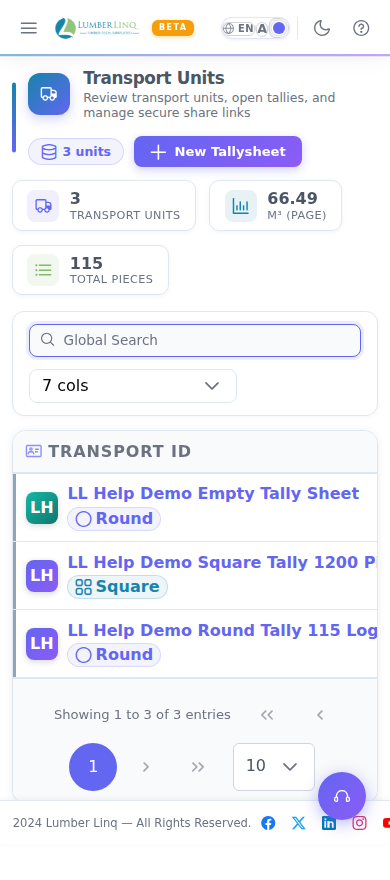
The Tally Sheet list is responsive and adapts to a narrow viewport.
Import and AI Import
The toolbar includes Import and AI Import actions.
- Import supports file-based tally import with configure, upload/map, and preview steps.
- AI Import reads handwritten tally sheets from photos or a PDF and fills the grid. It is currently available on Round sheets. The credit cost is calculated dynamically from how much each photo or PDF page actually needs to process, not a flat fee — the same formula used for Linc AI Help/Assistant; a PDF is charged per page.
The AI Import dialog
It has two steps: Upload and Review.
Upload step:
- “How these rows import” — a settings card at the top of the dialog with the sheet’s Length unit, Girth unit, Decimals, Length/Girth allowances and the Add to Length rule, all editable here. These are the settings that lock once the sheet has more than 10 rows, so set them before a big import — whatever you change is written back to the sheet’s Settings. On a sheet that is already locked, the card is read-only and shows “Already set — locked”.
- Add to Length — turn on if your sheet drops the leading digit (writes 45 for 245). Any length the AI reads as exactly 2 digits (10–99) is then expanded by the set value; 1- and 3-digit lengths are left as read. Expanded lengths are marked in the grid, and the mark clears if you edit the cell.
- Files — click or drop photos and/or a PDF. Each file shows as a row you can drag to reorder or remove. A PDF counts as one file; its pages are split automatically (up to 12 pages per import). Rows import in the order the files are listed.
- “See an example the AI can read” opens a sample of a readable sheet.
Review step:
- A value the AI cannot read is kept as an empty cell — a dash (—) in the preview — instead of the whole row being dropped. The row stays in position; fill the value in the grid before saving. Numbering is continuous across every page.
- Cells the AI wasn’t confident about, and cells that look unusual for the sheet (a dropped digit, a value far from the rest), are marked amber.
- When an import spans more than one page (several photos, or a PDF), a Pages list on the left of the preview shows each page with its row range and flag count. Click a page to jump to its rows.
- After import, a review bar above the grid shows how many rows still need attention, with a Show only these filter. Clicking a flagged or errored Length/Girth cell opens a photo helper — a pannable, zoomable view of the exact page that row came from, scrolled to it. On a computer, drag the panel by its title bar to move it and drag its bottom-right corner to resize it; on a phone it sits as a dock at the bottom of the screen. Turn it off in Settings → Configuration Settings → Columns → “AI Import photo helper”.
- The amber marker clears when you edit the cell. Always review every row — the AI can only flag the mistakes it noticed; a plausible-but-wrong digit still needs a human check against the photo.
Credits are only deducted after a successful read, and the dialog shows the exact number used. AI Import requires the feature to be enabled on your subscription plan.
Section labels — marking bundles, grades, or pages on a sheet
You can split any tally sheet — Round or Square — into named sections. This is especially useful for Clean Sawn: suppliers commonly cut and bundle the same order into separate lots by grade (say, “A Grade” and “B Grade”), and a section label lets you mark exactly where each grade’s rows start on the same sheet — no need for separate sheets per grade. It works on any sheet, hand-typed or filled by AI Import.
- Add a label: in edit view, hover a row and click the green bookmark button in the row actions. Type a name — for example “A Grade” or “B Grade” for a grade-split bundle, or “Bundle B” for a plain physical bundle — and Save. That row gets a coloured divider, and a Sections bar appears above the grid with one chip per section showing its SR range. Click a chip to jump to that section. This works the same way on both Round and Square sheets — it’s the one to use for marking grade bundles either way.
- AI Import pages, on Round sheets, show up here automatically as sections named “Page 1”, “Page 2”, and so on — no typing needed. Click the pencil on a divider to rename one to whatever you want — e.g. turn “Page 2” into “B Grade” once you know that’s where the grade split actually falls. Square sheets don’t create these automatically from AI Import yet — add the label by hand the normal way above.
- Remove a label: open the editor on a labelled row and click Remove.
- Labels are saved with the sheet and stay after you reload.
- Switch how the divider looks — a Divider label (default) or an SR pill — under Settings → Configuration Settings → Columns → “Section marker style”.
- On a share link (or any other read-only view), a section you’ve actually typed a label for still shows its divider and caption — so someone you shared the sheet with can see the grade bundles too. An auto-detected AI Import page with no label of its own stays edit-view only. The Sections jump bar, and editing a label, always stay edit-view only either way.
Two People Editing the Same Stock Unit
Changed by someone else. If you edit a row that someone else changed after you last loaded it (for example you were offline), LumberLinq does not silently overwrite it. You see Changed by someone else with Keep mine or Show their change. Rows you changed yourself on another device never clash.
Clashing rows (rows added at the same place). When two people add rows after the same row, both sets of rows are kept together, yours after theirs, and an amber Clashing rows bar shows for both of you: “N rows need a check”, arrows to jump between them, a filter to show only the clashing rows, and an amber mark on each row (who, when, what was done). Change offers four choices: keep both — mine after theirs (the default), keep both — mine first, keep theirs and drop mine (when the same logs were measured twice), or — admins only — keep mine and delete theirs (the other person is told). Mark as checked clears the marks for everyone.