
Account, Login & Sign Up — User Manual
Also searched as: sign in, log in, create account, register, forgot password, reset password, delete my account, close account, change password, timezone setting, profile picture, social login, google login, sign in with apple, apple login, ios login, OTP verification, danger zone.
How to Log In
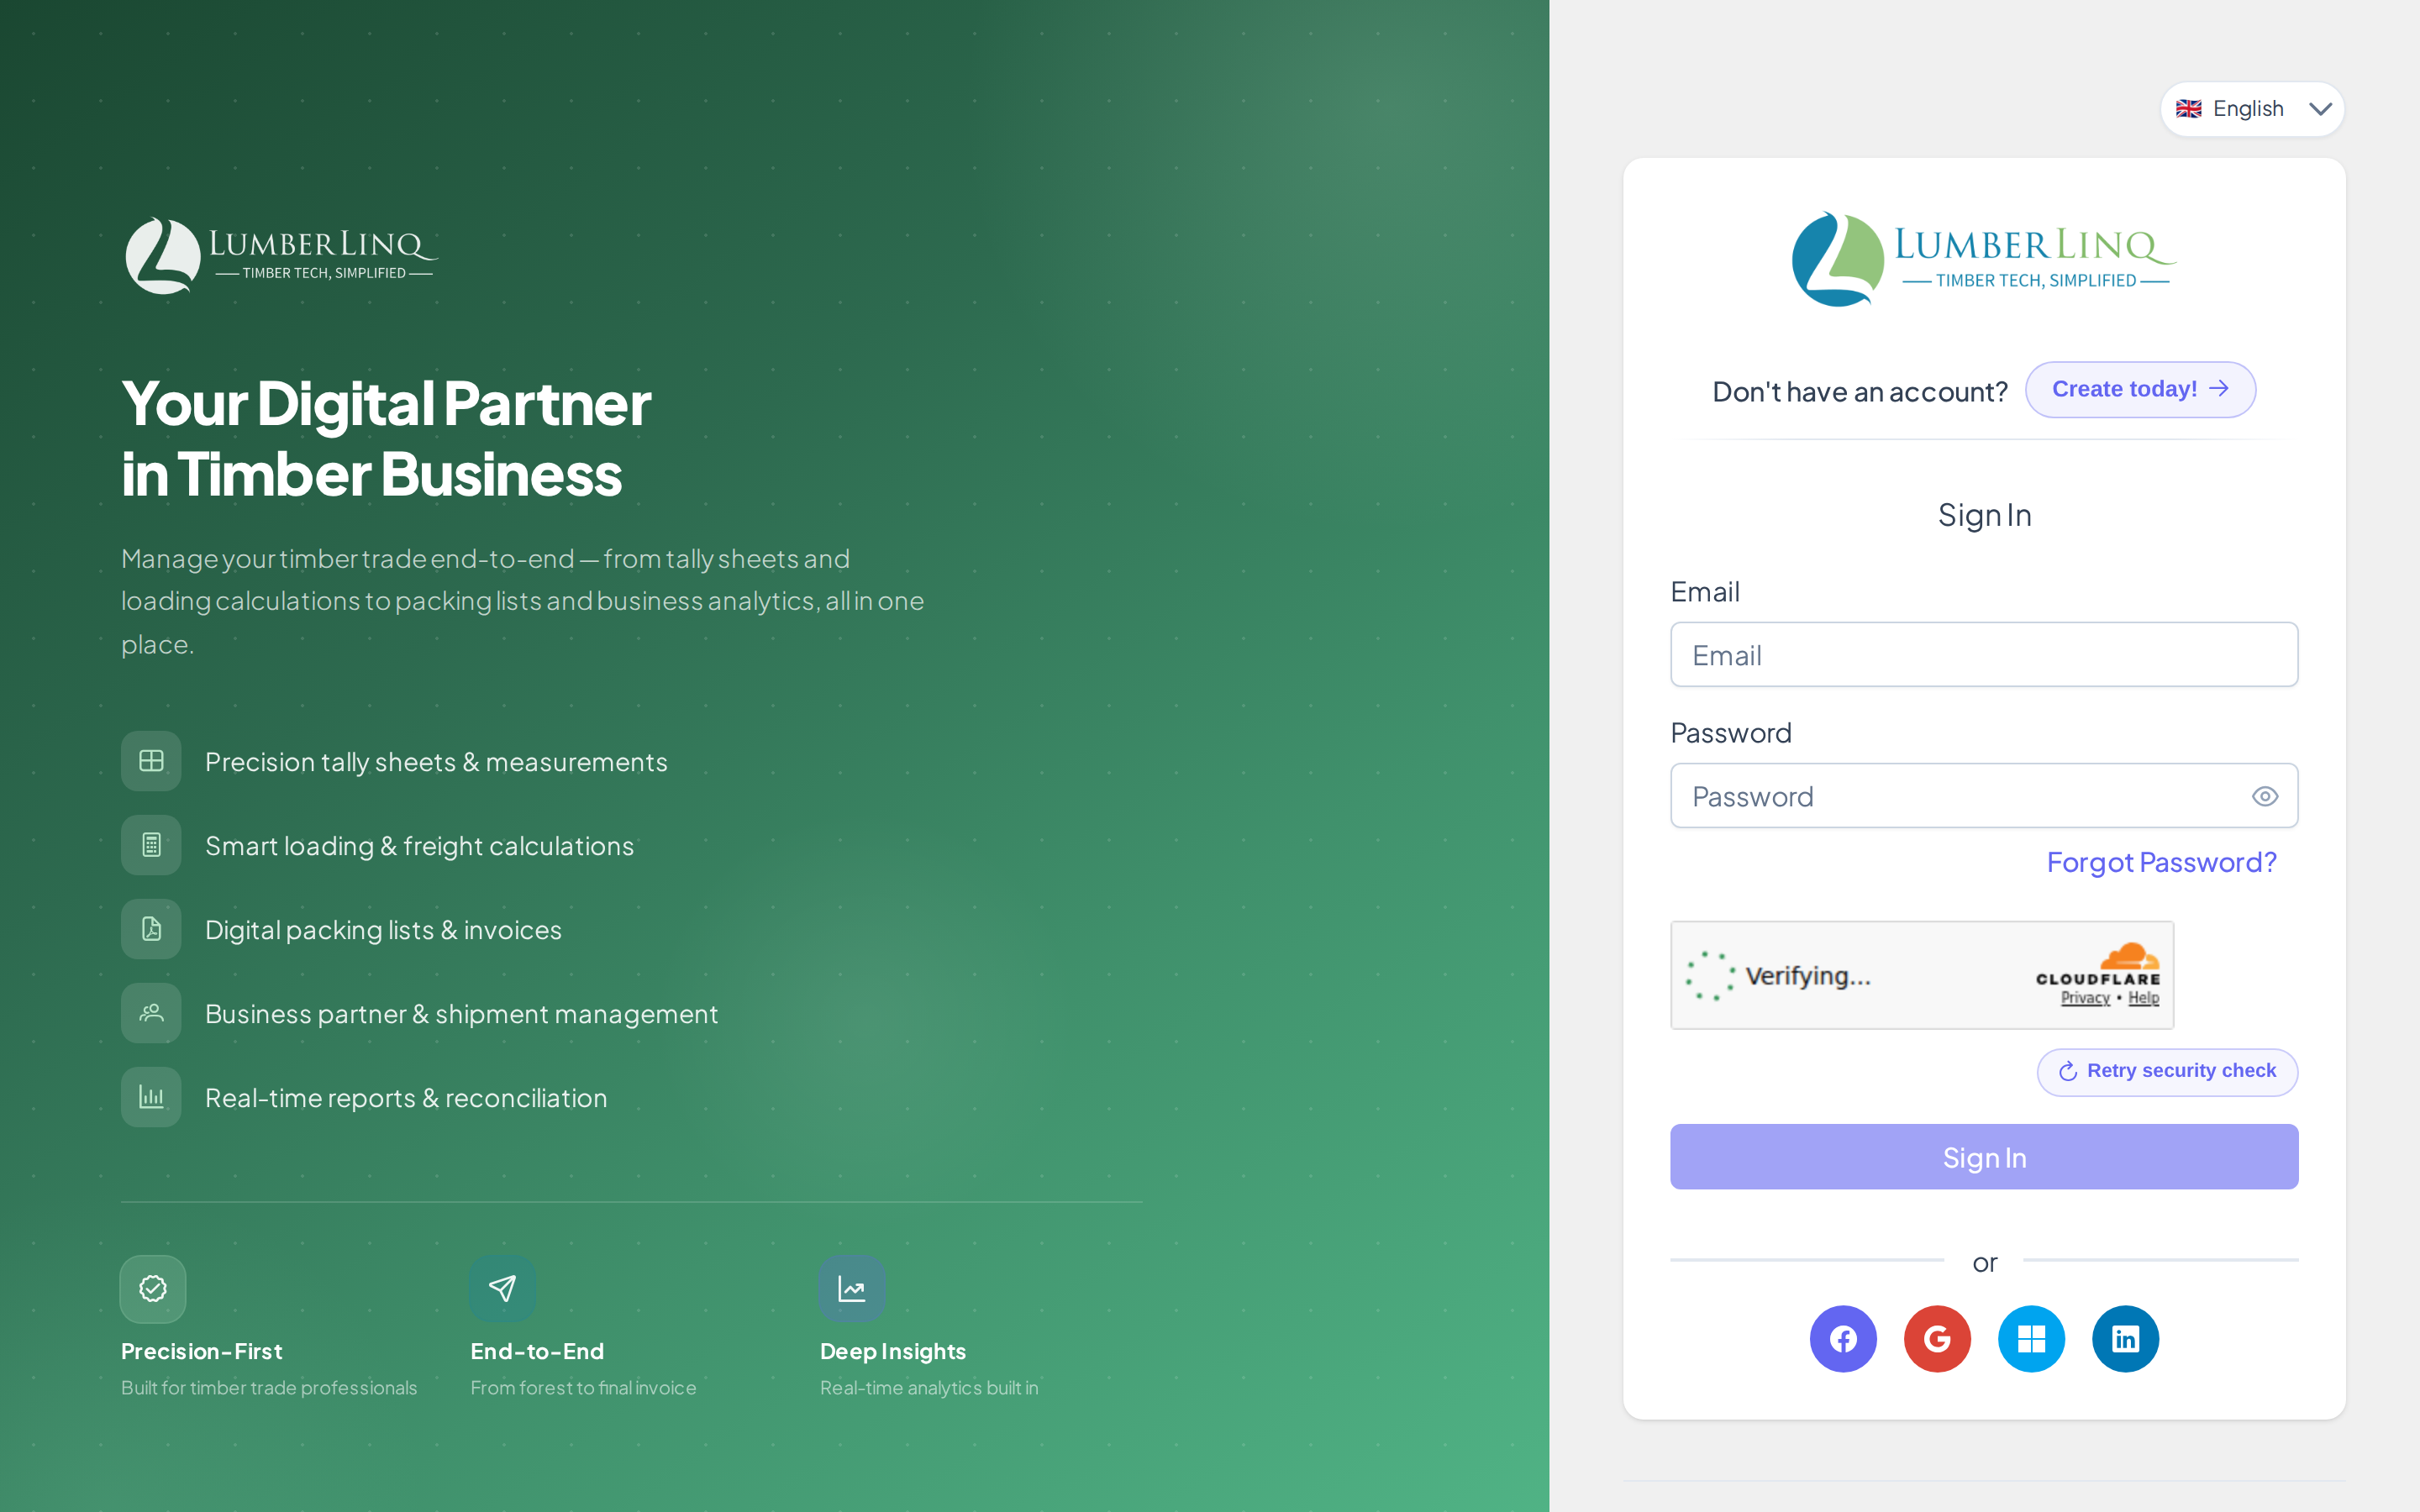
Open app.lumberlinq.com/login. You’ll see a card with a Sign In | Sign Up switch at the top and Sign In selected — enter your email and password and click Sign In. If Turnstile CAPTCHA is enabled, complete the challenge before proceeding. After a successful login you’re redirected to the Dashboard.
Social / OAuth Login
On the web, LumberLinq supports logging in via Google, Facebook, Microsoft, LinkedIn, and Apple. On the Android app, the first four (no Apple). Click the provider’s button, authorise with them, and you’re returned to LumberLinq automatically. If your email isn’t registered yet, a new account is created for you.
The iOS app also offers Sign in with Apple — on iOS it opens the native Apple sheet (Face ID / Touch ID). On iOS, all login methods sign in an existing account only; there is no sign-up in the iOS app. If you sign in on iOS with an Apple ID that has no LumberLinq account, create a free account on app.lumberlinq.com first (Sign in with Apple works there too), then sign in on iOS.
Forgot Password
- On the login page, click Forgot Password.
- Enter your email address and submit.
- Check your inbox for a reset link from
[email protected]. - Click the reset link (valid for a limited time) and enter a new password.
If the email doesn’t arrive within a few minutes, check your spam folder.
Stay Logged In
LumberLinq uses secure HTTP-only cookies for session management. Sessions persist across browser restarts. If you’re logged out unexpectedly, your session may have expired — simply log in again.
Logging Out
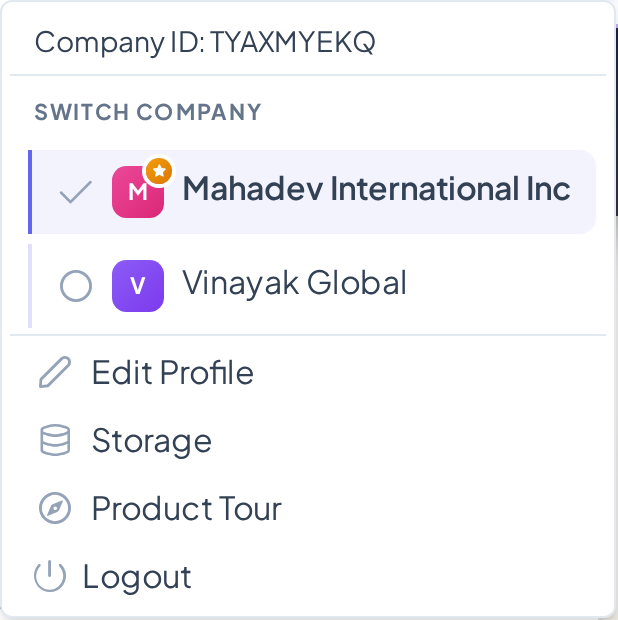
Click your avatar in the top-right header, then click Logout.
Switching Between Companies
If you belong to more than one company account, the same avatar menu shows a Switch Company section listing each one — click a company to make it your active company for the session. This only appears if your account has 2+ active company memberships.
How to Create a New Account
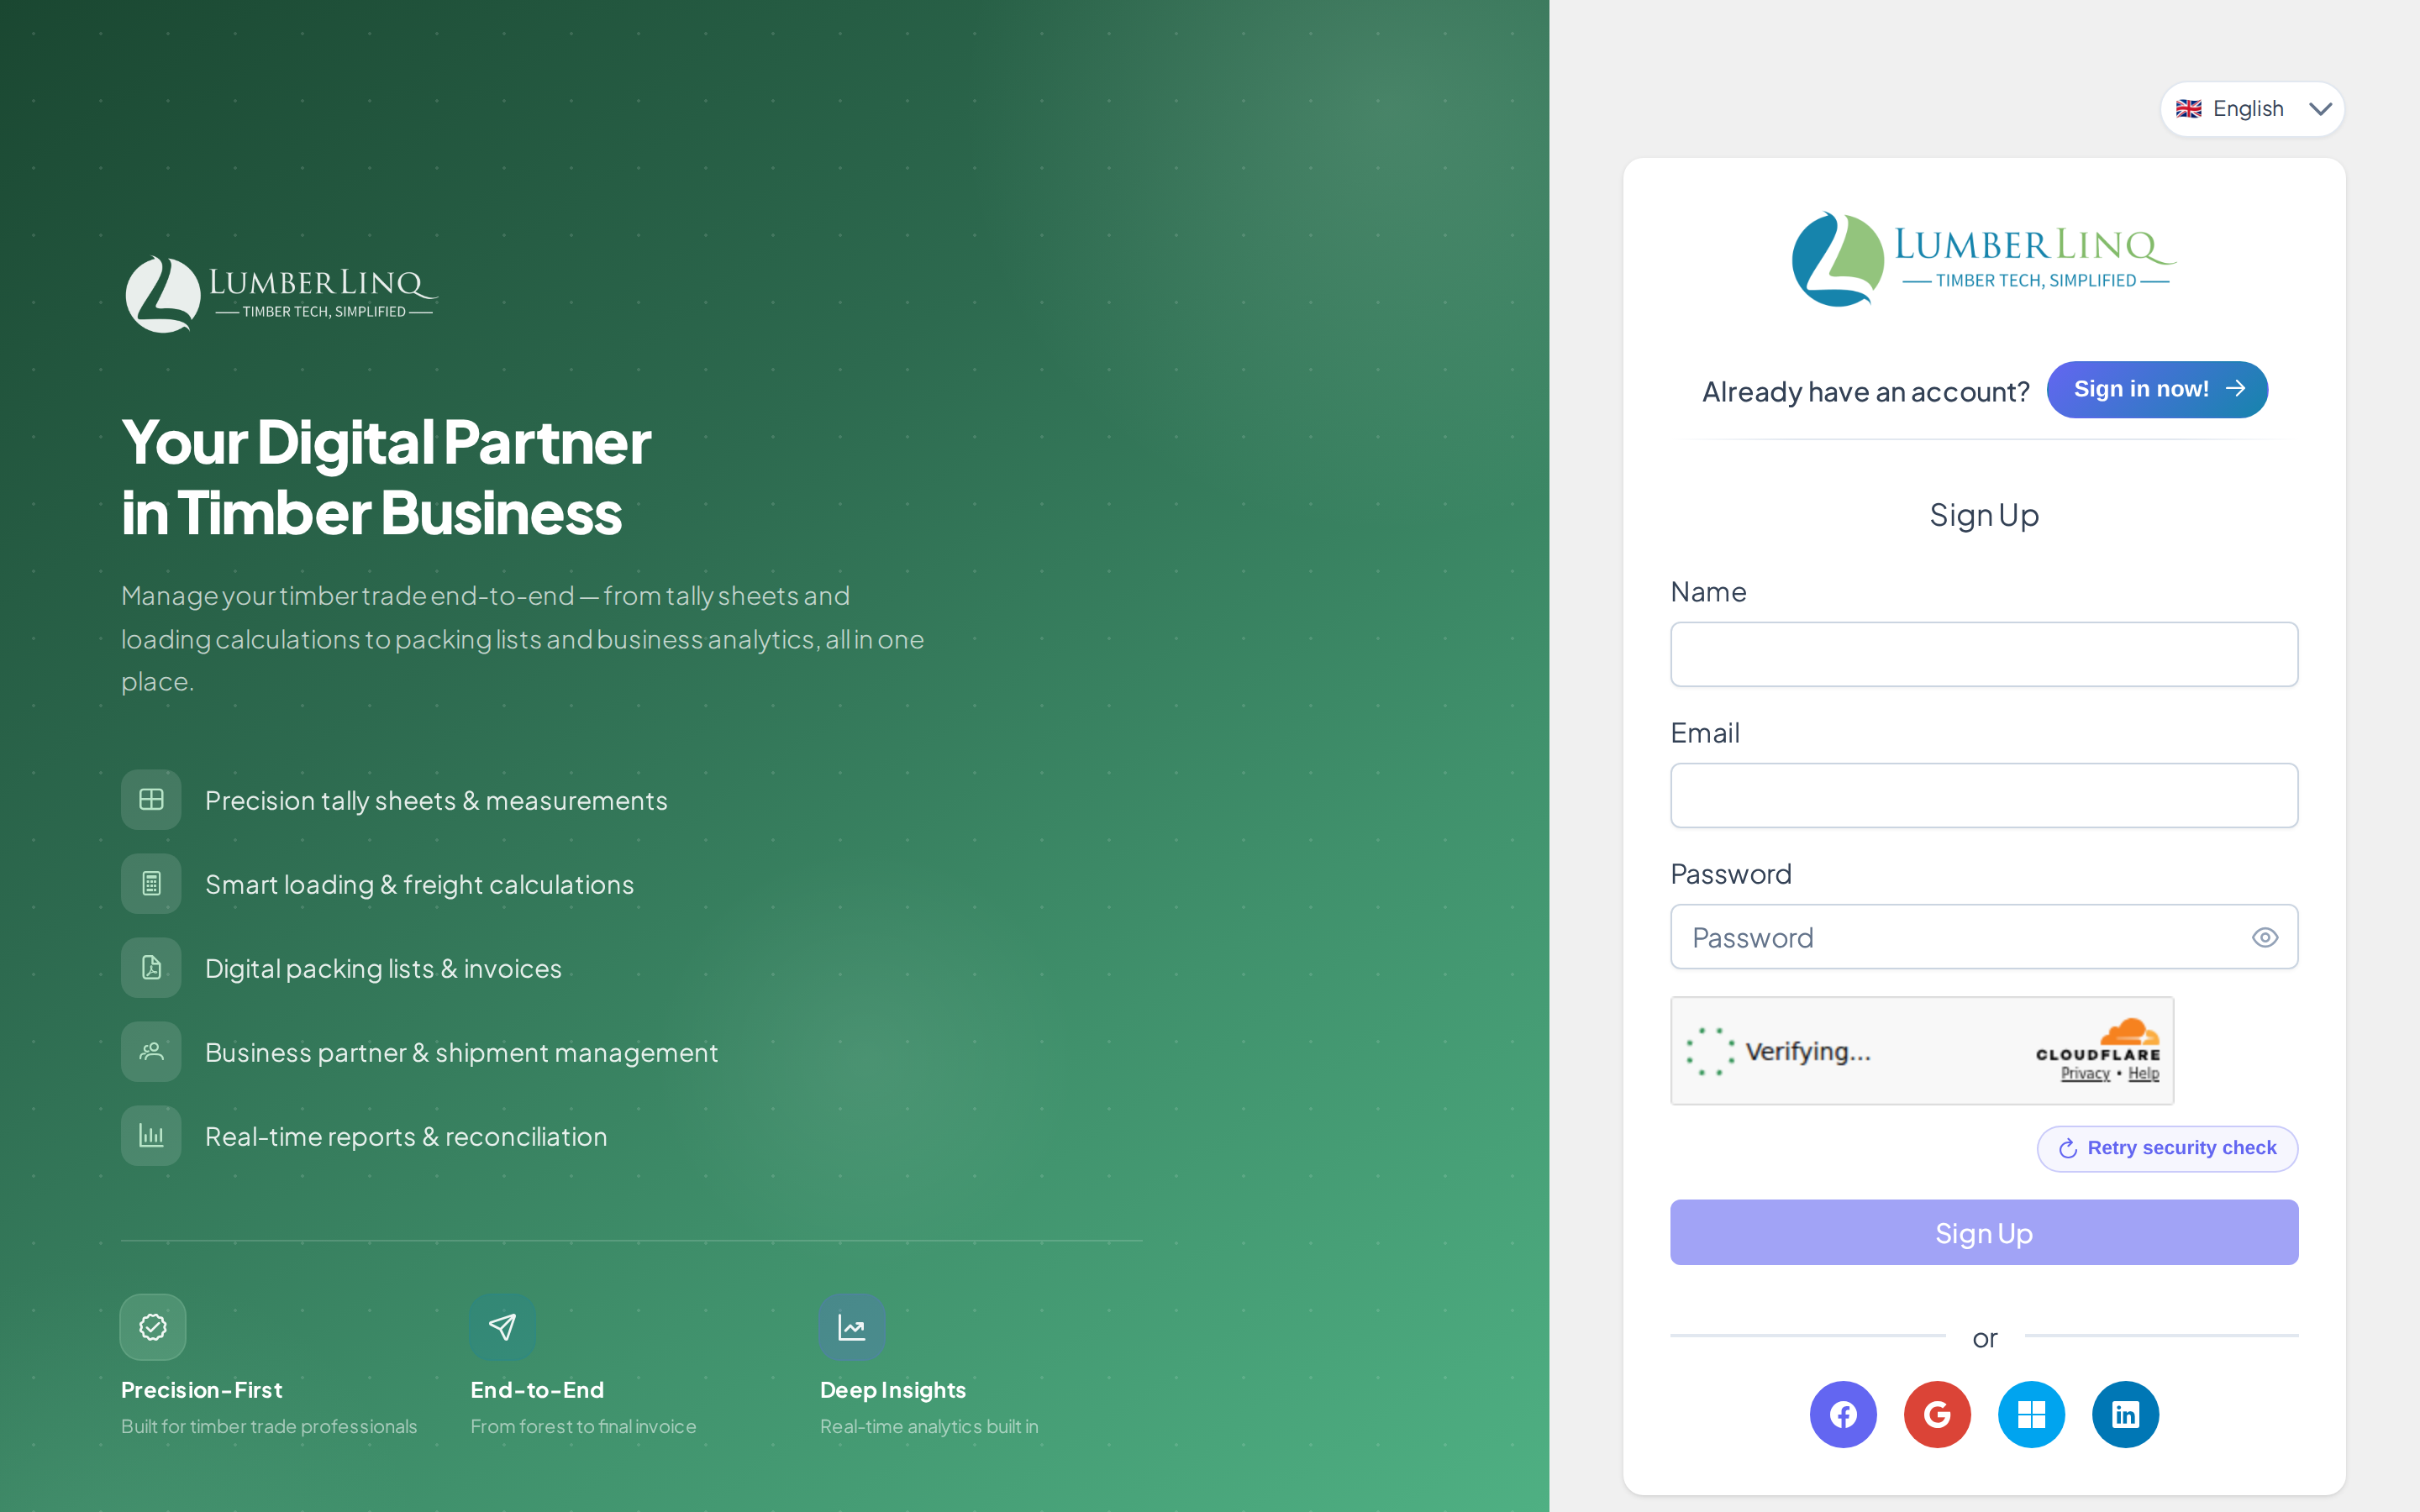
On the login page, click Sign Up to flip the card to registration.
- Enter your email address and choose a password (minimum 8 characters).
- Enter your full name and company name.
- Complete the Cloudflare Turnstile CAPTCHA.
- Click Create Account.
- Check your inbox for a verification email and click the link to confirm.
- After verification, you’re redirected to the Account Setup wizard.
Account Setup Wizard
After verifying your email, complete the setup wizard before accessing the main application. Each step must be finished before the next unlocks — see Getting Started for the full step-by-step walkthrough (Personal Details → Company Details → Subscription → Payment → Confirmation).
Verifying Your Mobile Number
In the Personal Details step (and later in Account Details) you verify your mobile number with a 6-digit code. You choose how to get it:
- Send code on WhatsApp — the code arrives in WhatsApp from LumberLinq as a message with a Copy code button. Tap it, then paste the code into LumberLinq. This is the main button for Indian (+91) numbers.
- Send code by SMS — the same code as a text message. This is the main button for other countries.
A code works for 5 minutes. You can ask for a new one after 30 seconds, and in the code window you can switch to the other way (“Send by SMS instead” / “Send on WhatsApp instead”). If WhatsApp tells us it could not deliver the code (for example the number is not on WhatsApp), the window says so and you can send it by SMS. There is a daily limit on how many codes can be requested, to protect your number from misuse. If you do not see the WhatsApp button, WhatsApp codes are switched off for now and SMS is the only way.
Once a mobile number is verified it cannot be changed from the screen; raise a Support Ticket if you need it changed.
Trial Plan
All new accounts can start on a Trial Plan (one per company, ever), with full feature access for a limited number of days and no grace period. See Subscriptions & Billing for exactly what happens when it ends and how to upgrade.
Registering via Invitation
If a company administrator has invited you, use the link in your invitation email — it pre-fills your email and connects you to the correct company account. Don’t use the standard sign-up form if you received an invitation link.
Email Verification Didn’t Arrive
- Check your spam/junk folder.
- Wait 5 minutes — delivery can be delayed.
- On the login page, use “Resend verification email” if available.
- Raise a Support Ticket if it still doesn’t arrive.
Changing Your Password After Registration
Go to your User Profile (avatar → Profile) → Security tab → Change Password.
Common Login Problems
“Invalid email or password” — double-check the email address; passwords are case-sensitive. Use Forgot Password if needed.
“Account not verified” — check your inbox for the verification email sent at registration and click its link.
“Your account has been deactivated” — contact your company administrator; accounts are deactivated by admins from User Management.
“AI Chat is not enabled for your account” — AI Chat (Linc) is tied to your subscription plan. Contact your administrator or check your subscription settings.
Turnstile CAPTCHA is not loading — make sure JavaScript is enabled and Cloudflare isn’t being blocked by a firewall or ad blocker.
Notification Preferences
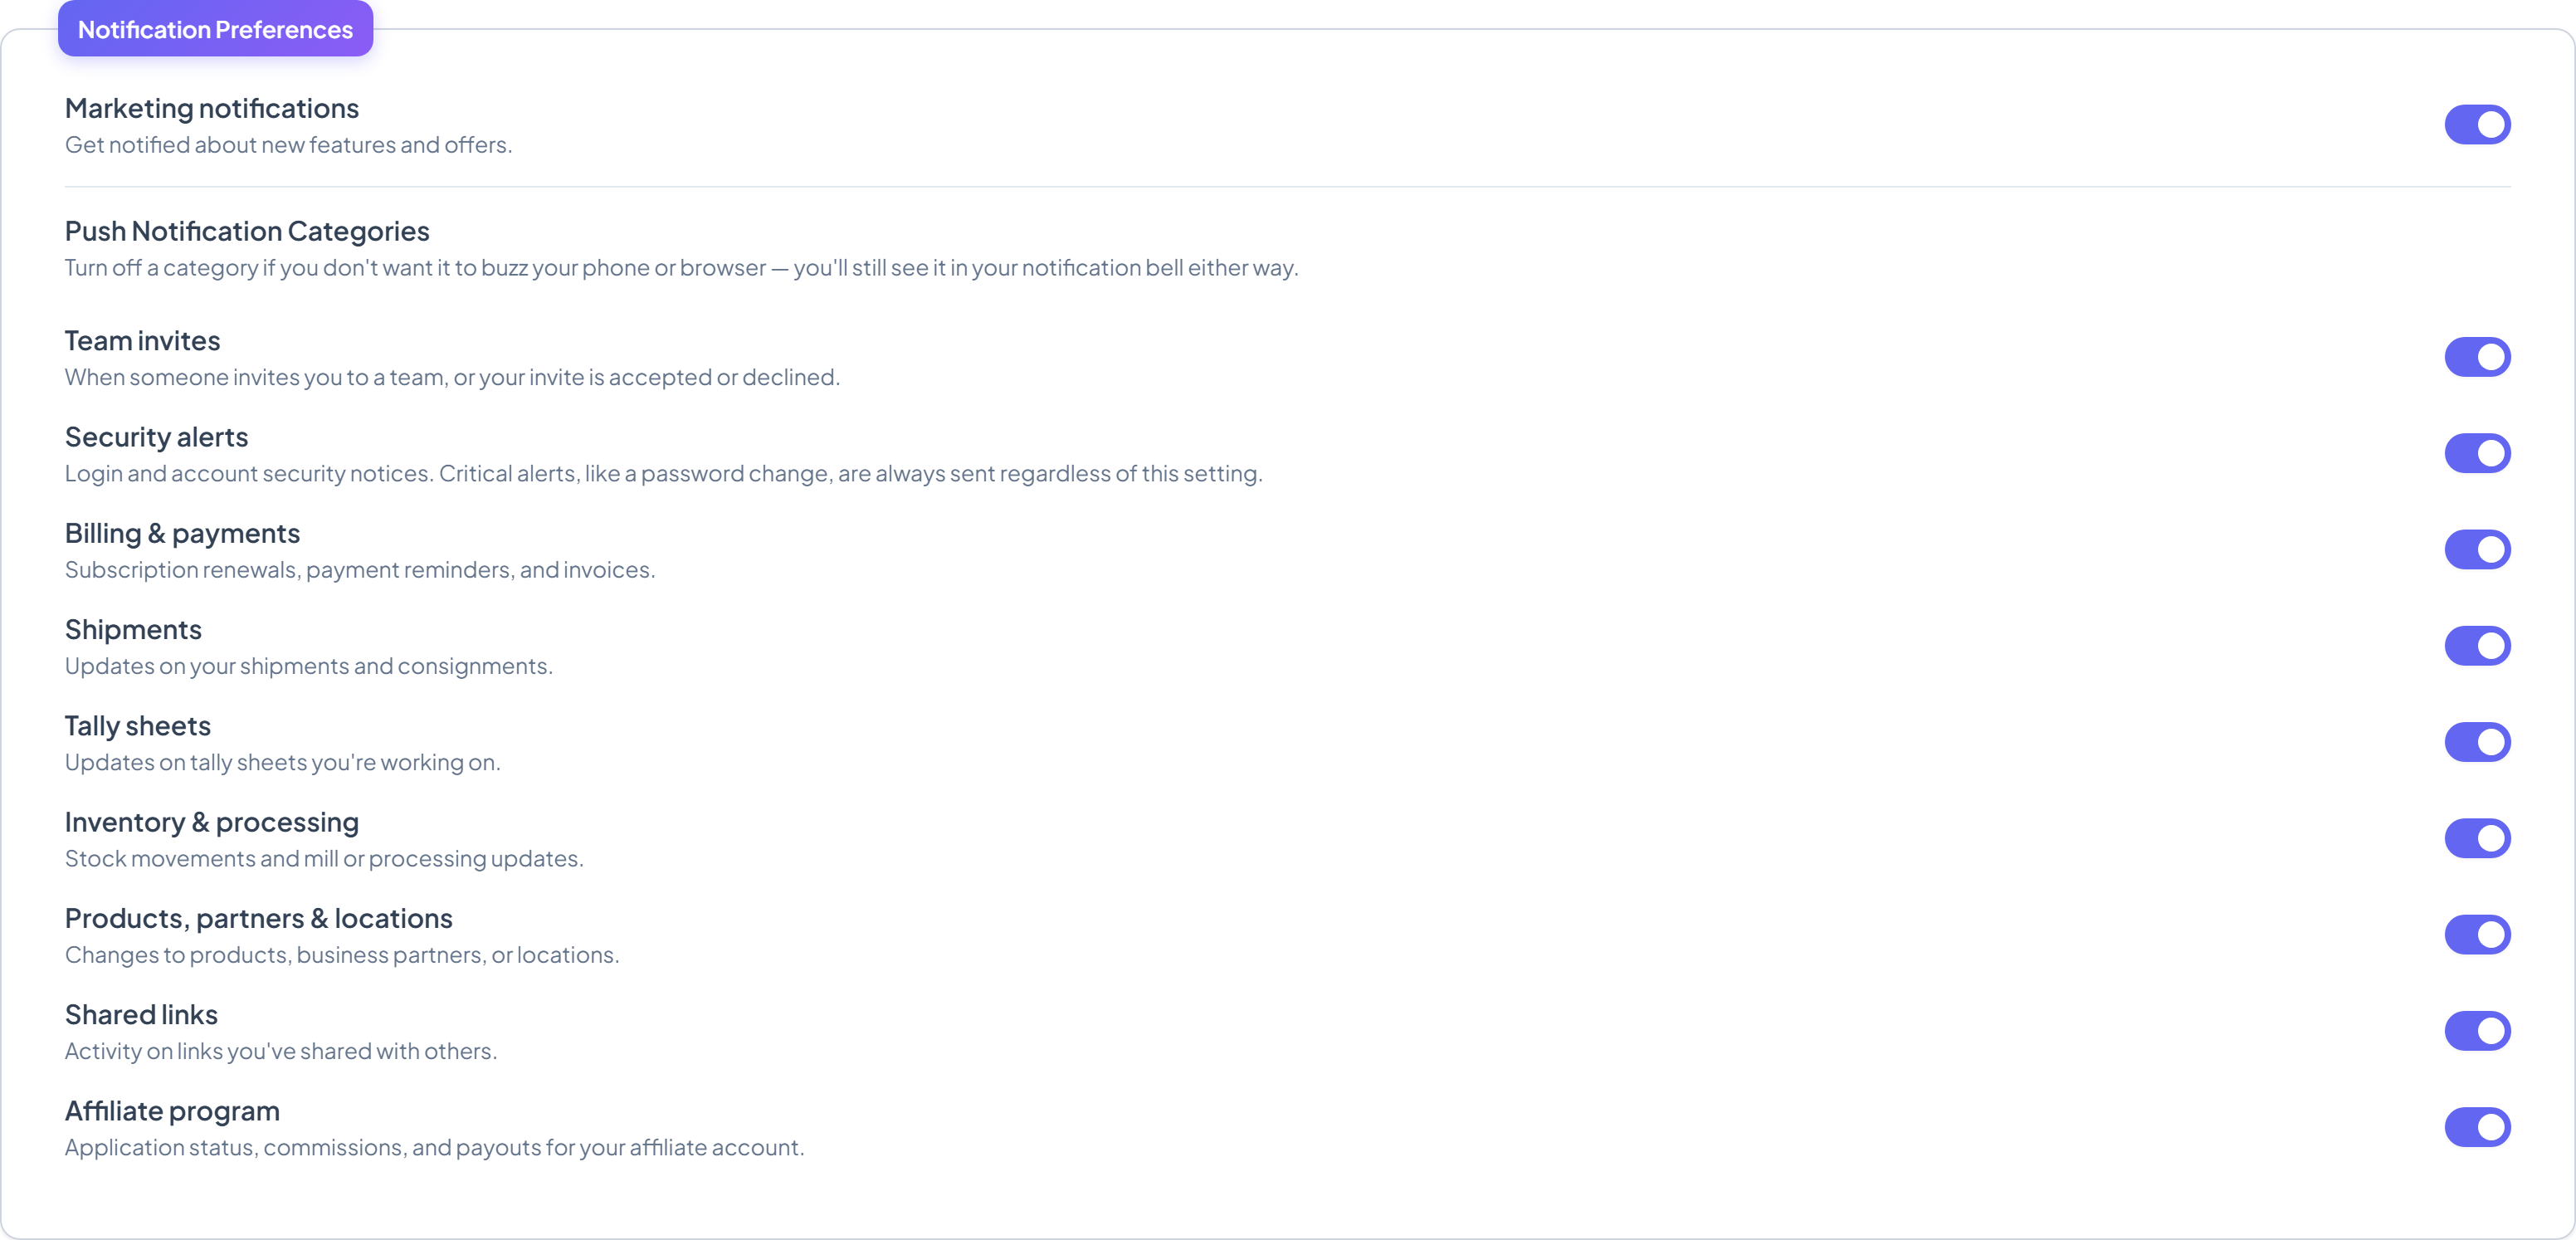
Choose which notification categories can buzz your phone or browser. Turning a category off doesn’t hide it from your notification bell — you’ll still see it there either way, and turning it off doesn’t stop critical security alerts (like a password change) or email either.
- Click your avatar in the top-right header, then click Edit Profile.
- Scroll down to the Notification Preferences panel.
- Use the Marketing notifications toggle at the top to opt in or out of updates about new features and offers.
- Below that, toggle any of the following categories on or off individually:
| Category | Covers |
|---|---|
| Team invites | When someone invites you to a team, or your invite is accepted or declined |
| Security alerts | Login and account security notices (critical alerts like a password change are always sent regardless of this setting) |
| Billing & payments | Subscription renewals, payment reminders, and invoices |
| Shipments | Updates on your shipments and consignments |
| Tally sheets | Updates on tally sheets you’re working on |
| Inventory & processing | Stock movements and mill or processing updates |
| Products, partners & locations | Changes to products, business partners, or locations |
| Shared links | Activity on links you’ve shared with others |
| Affiliate program | Application status, commissions, and payouts for your affiliate account |
Each toggle saves automatically — there’s no separate save button.
Self-Delete Account (Danger Zone)
You can permanently delete your own LumberLinq account from the Danger Zone panel on your profile page.
- Click your avatar in the top-right header, then click Edit Profile.
- Scroll down to the Danger Zone panel (below Notification Preferences).
- Click Delete My Account.

What happens next depends on whether you’re the only admin in your company:
If you’re not the only admin:
- A confirmation step appears. Type your email address exactly to confirm.
- Click Delete My Account.
If you’re the only admin (sole admin):
- A warning appears explaining that deleting your account will permanently shut down your company workspace, and lists the other users who will lose access.
- Choose one of two paths:
- Assign Admin First (recommended) — pick another team member from the list and click Make Admin to hand over admin rights. Once the transfer succeeds, click Continue to Delete Account.
- Delete Anyway & Shut Down — skip reassignment. You’ll need to tick a checkbox confirming you understand that all company users will be logged out immediately, the workspace will shut down, and the subscription will expire.
- Type your email address exactly to confirm, then click Delete My Account (or Delete & Shut Down Company if you skipped reassignment).
Once confirmed:
- All your active sessions are revoked immediately and you’re logged out.
- Data you created (tallies, consignments, stock units) stays in the system, shown under the author name “Deleted User”.
- After 30 days, your personal details (name, email, phone) are anonymised and can’t be recovered.
- Your email address is released and can be used to create a new account later.
- You’re redirected to the login page with a confirmation message that your account was deleted.
This action cannot be undone — there is no recovery option.