
Business Partners — User Manual
Also searched as: buyer, seller, customer, supplier, vendor, client, party, contact, trading partner, add customer, new supplier, KYC, bank details.
Business Partners are the companies and contacts your organisation trades with in LumberLinq. A partner can be a buyer, seller, exporter, importer, or both buyer and seller (this is set by the Party Type field). Common examples: your buyers, your sellers/suppliers, and other trading contacts.
Business Partners are used across consignments, tally sheets, inventory, documents, and reports.
Plan note. Business Partners are part of the Sapling, Tree and Forest plans. On the free Seedling plan the Business Partners menu is not shown. On Sapling, Business Partners work as a simple address book (the consignment parts and the Business Partner Report belong to Tree and Forest). Your partners are never deleted: when a plan that includes them is active again, they are all back at once.
How to Create a Business Partner
- Open Business Partners > View Business Partners.
- Click New Partner.
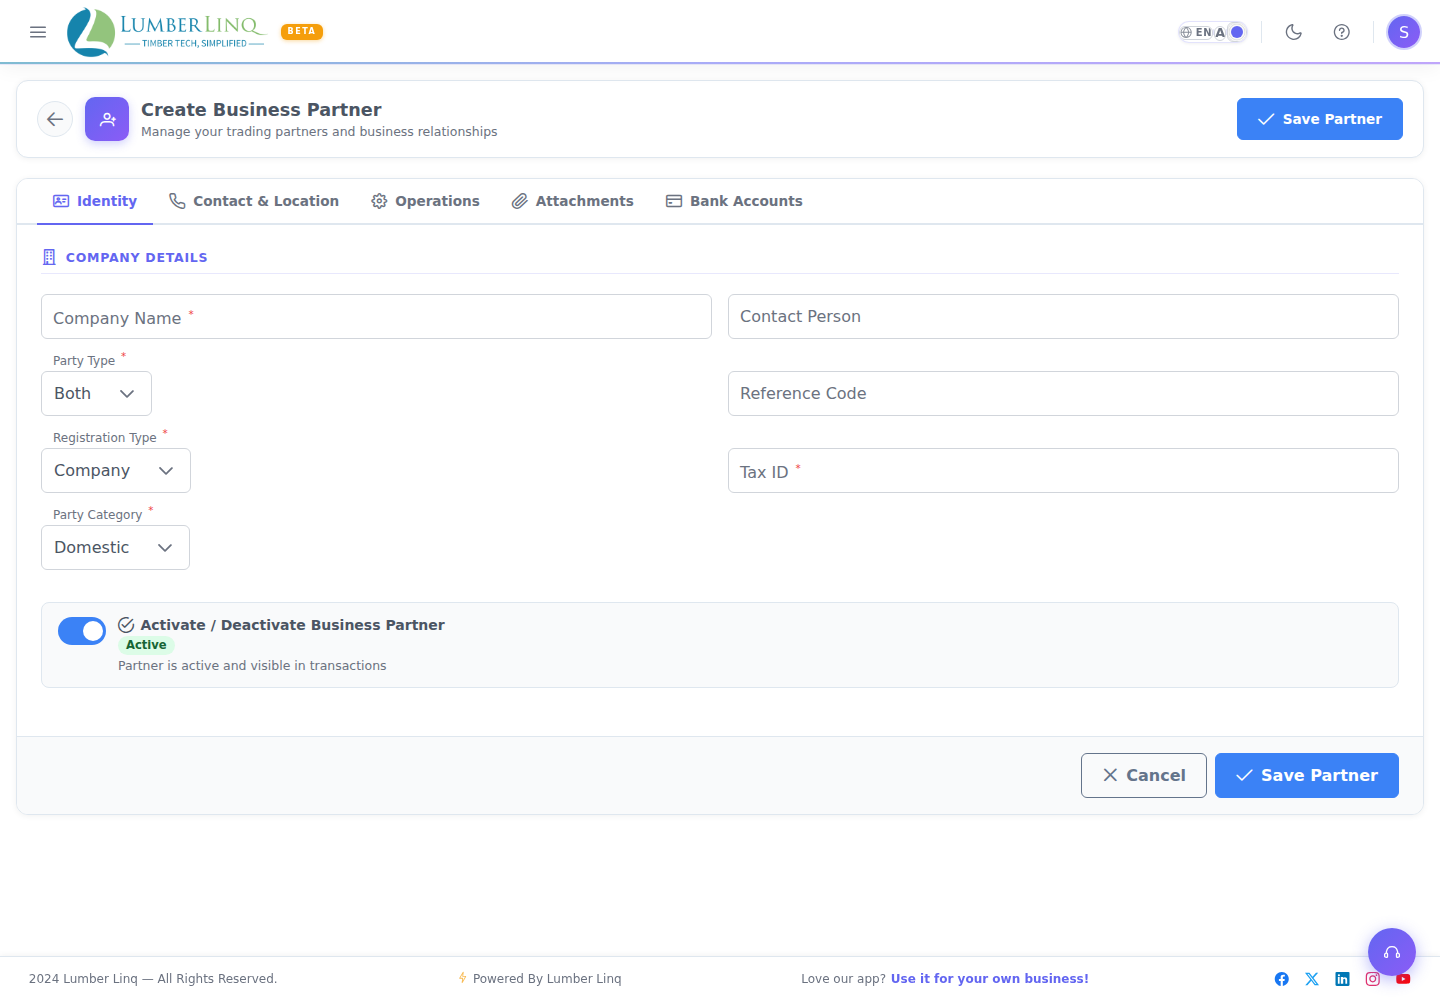
- On the Identity tab, fill in the required fields: Company Name, Party Type (Buyer, Seller, or Both), Registration Type, and Party Category. Tax ID / GSTIN, Contact Person and Reference Code are optional here.
- Click the Contact & Location tab. Fill in Email, Phone 1, Address Line 1, Country, and Zip Code (all required), plus State, City, Phone 2, Address Line 2, and Website if you have them.
- Click the Operations tab if you want to set internal details — Linked User ID, External Code, Tags, or Notes. This tab is optional.
- Skip the Attachments and Bank Accounts tabs for now — both only unlock after the partner is saved for the first time.
- Click Save Partner (top-right or bottom-right of the form).
Once saved, the form switches to edit mode and the Attachments and Bank Accounts tabs become usable — see below.
View Business Partners
Open Business Partners > View Business Partners.
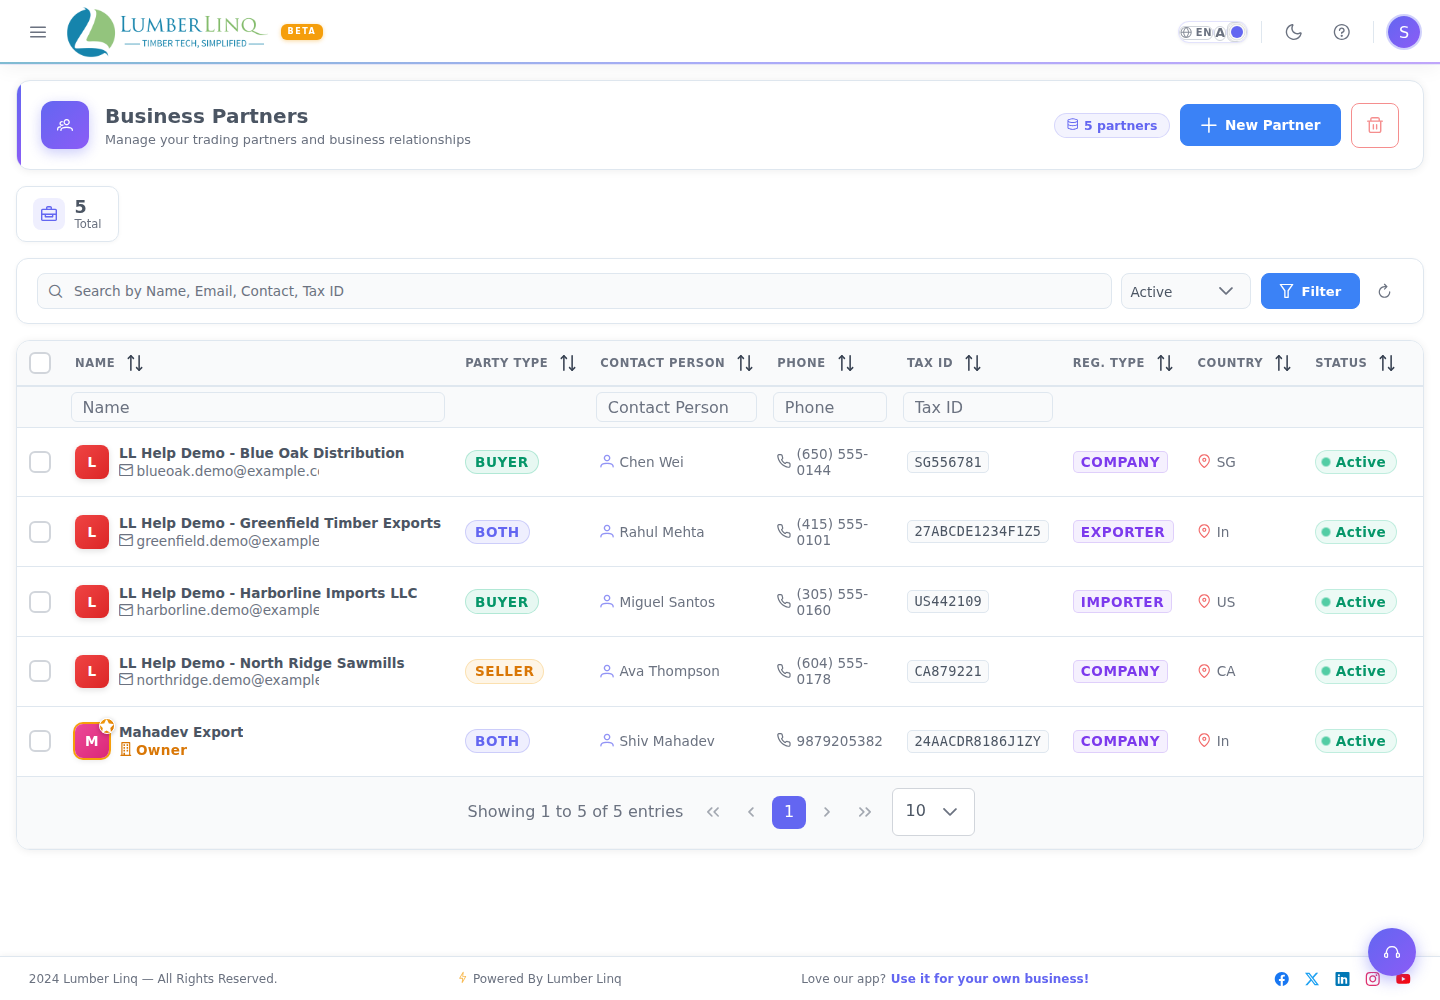
The list shows partner name, party type, contact person, phone, tax ID, registration type, country, status, and row actions.
You can:
- Search partners.
- Filter by status.
- Sort table columns.
- Edit a partner.
- Activate or deactivate a partner.
- Delete partners when they are not protected by related records.
Search Partners
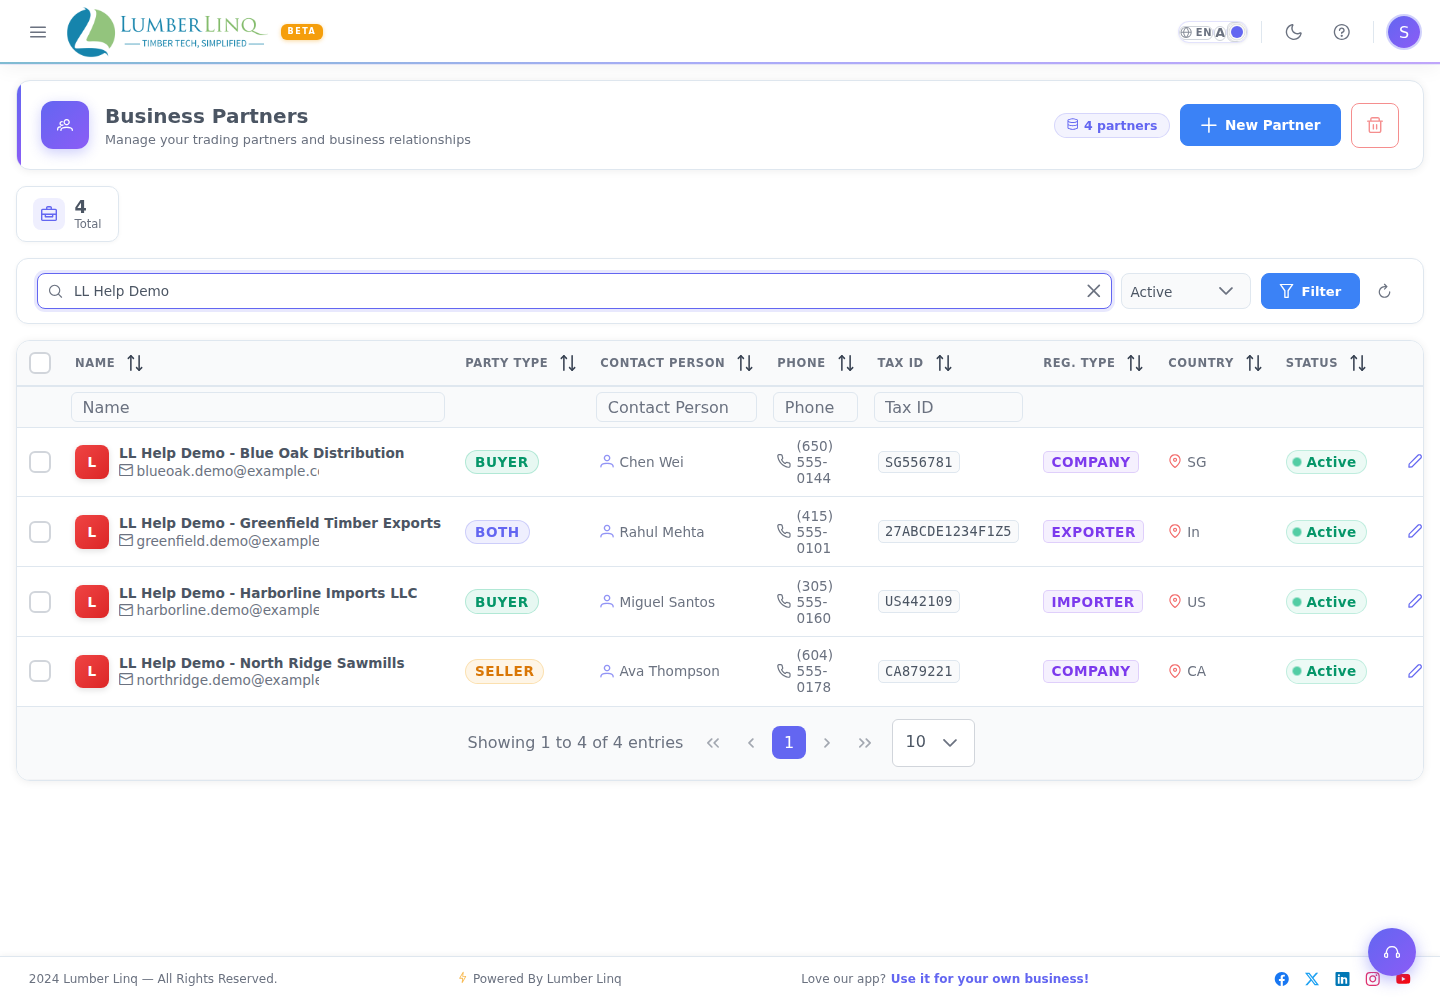
Use the search box to find partners by name, email, contact person, or tax ID.
Business Partner Form — Tab Reference
The Create/Edit form is split into five tabs, tabbed through in this order: Identity, Contact & Location, Operations, Attachments, Bank Accounts. Field-by-field detail for each tab is below.
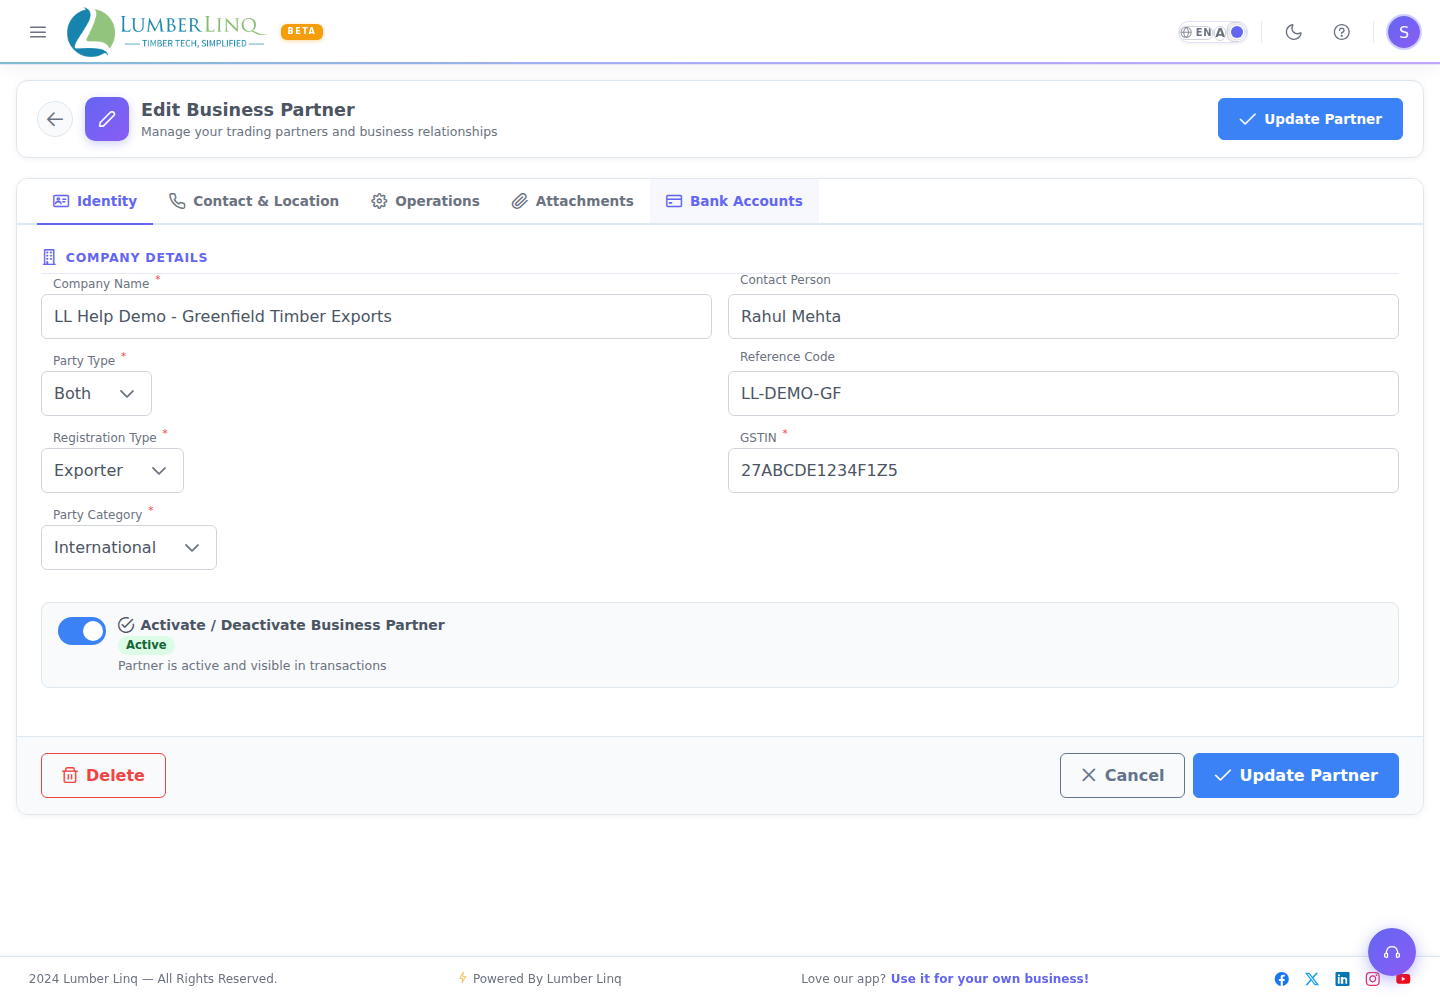
Identity
Required fields include:
- Company Name
- Party Type
- Registration Type
- Party Category
Tax ID or GSTIN is optional. If you enter one it is checked: at least 3 characters, and for a partner in India it must be a valid 15-character GSTIN.
Party Type options include Buyer, Seller, and Both.
Contact & Location
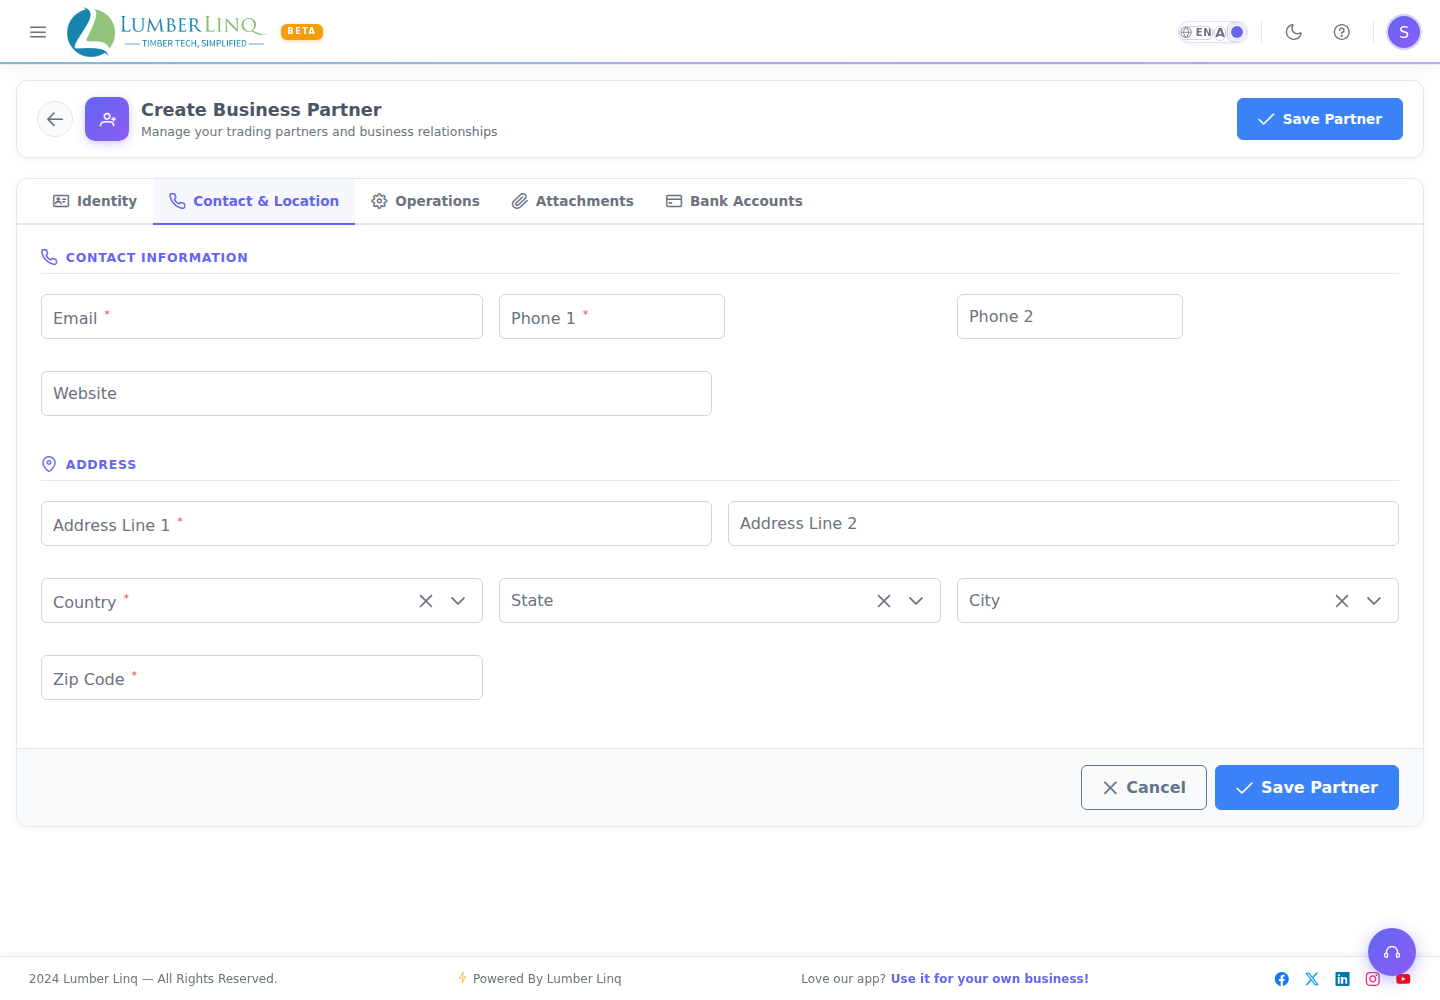
Required fields include:
- Phone 1
- Address Line 1
- Country
- Zip Code
Country, state, and city fields are selected from dropdowns.
Operations
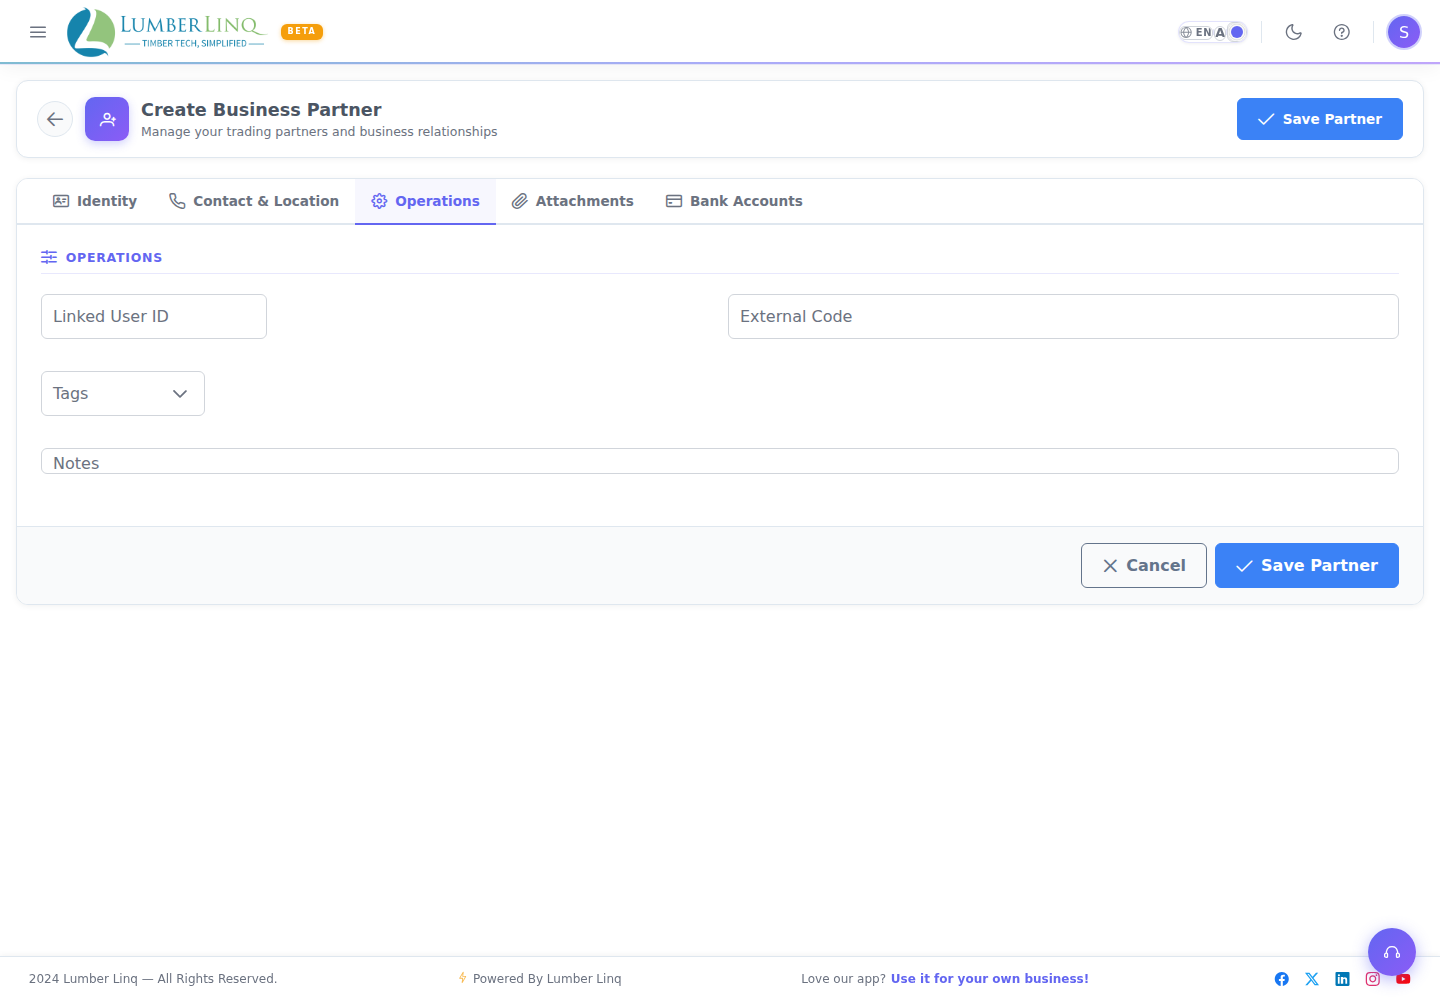
Use Operations for internal details such as linked user ID, external code, tags, and notes.
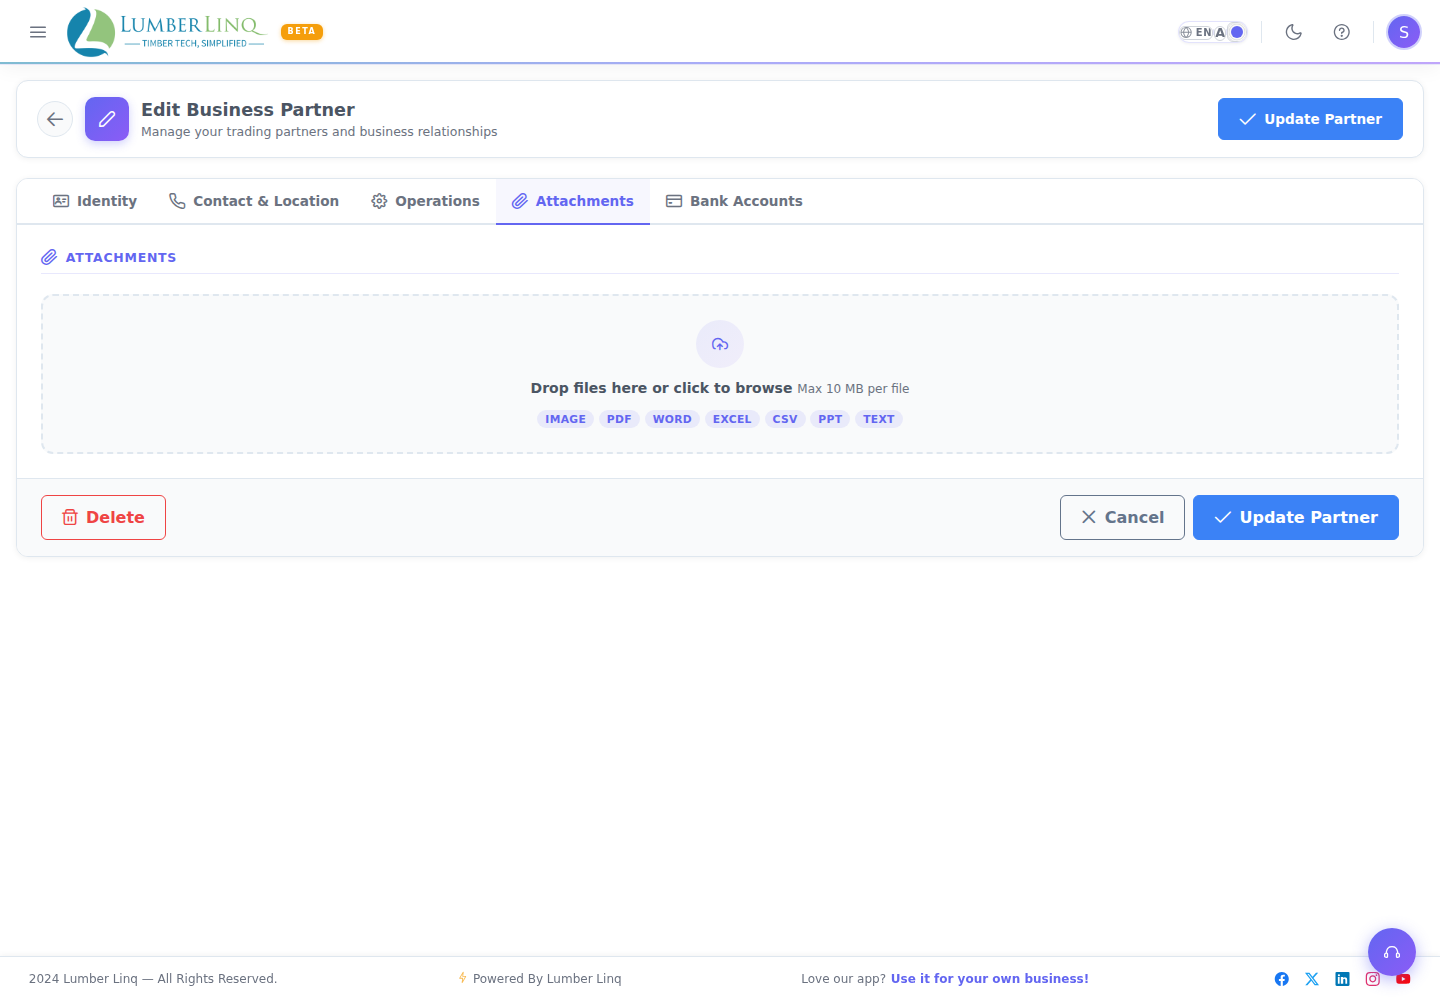
Attachments
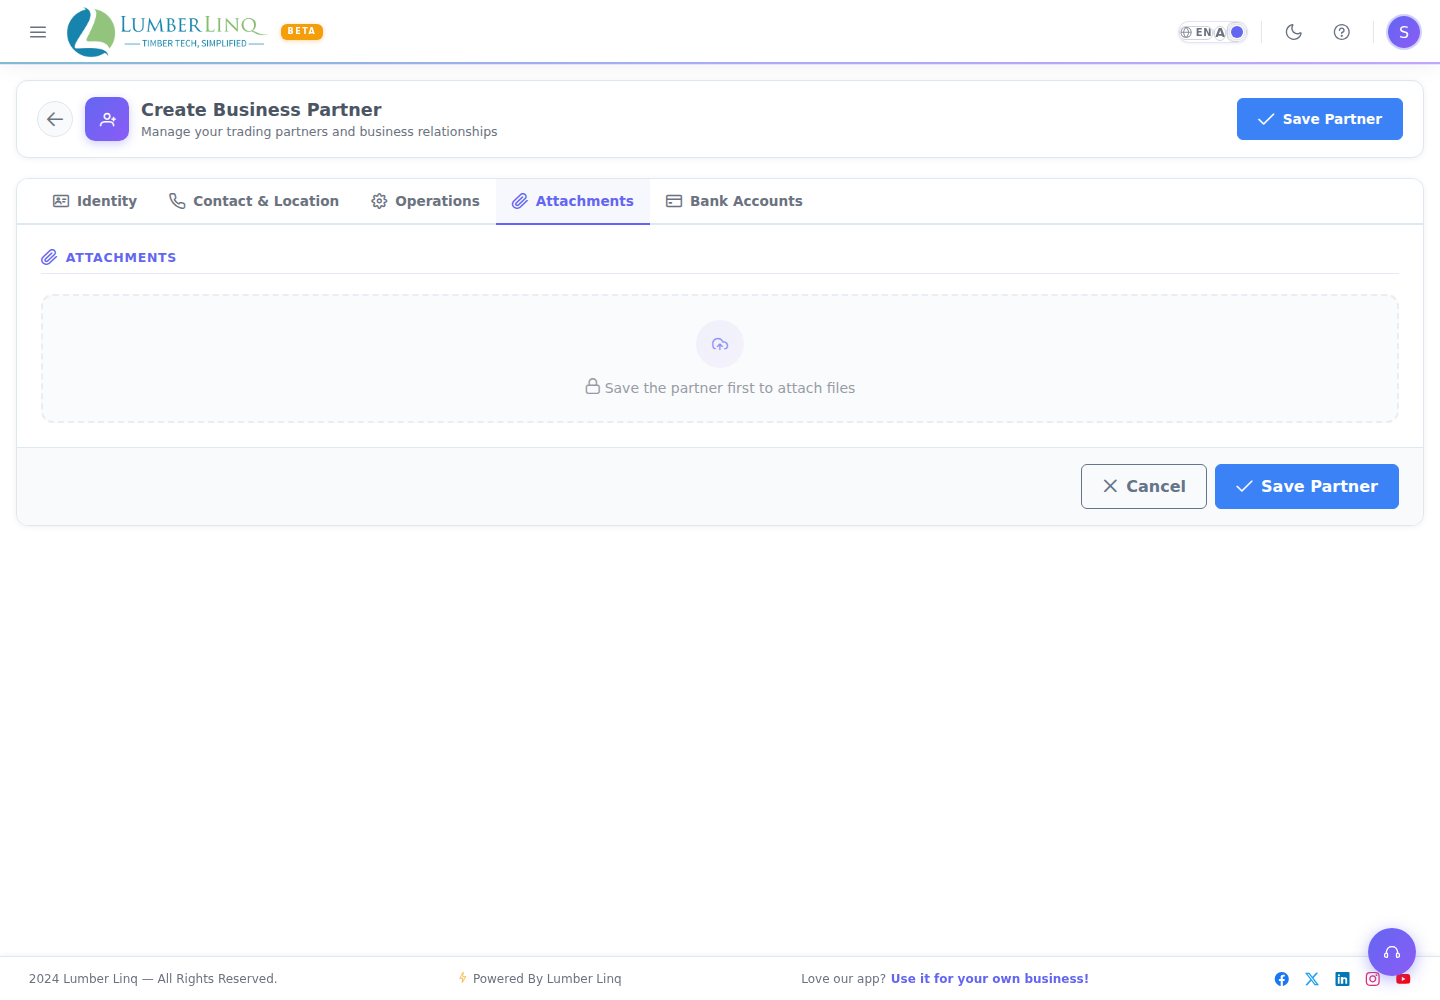
Attachments are available after the partner is saved.
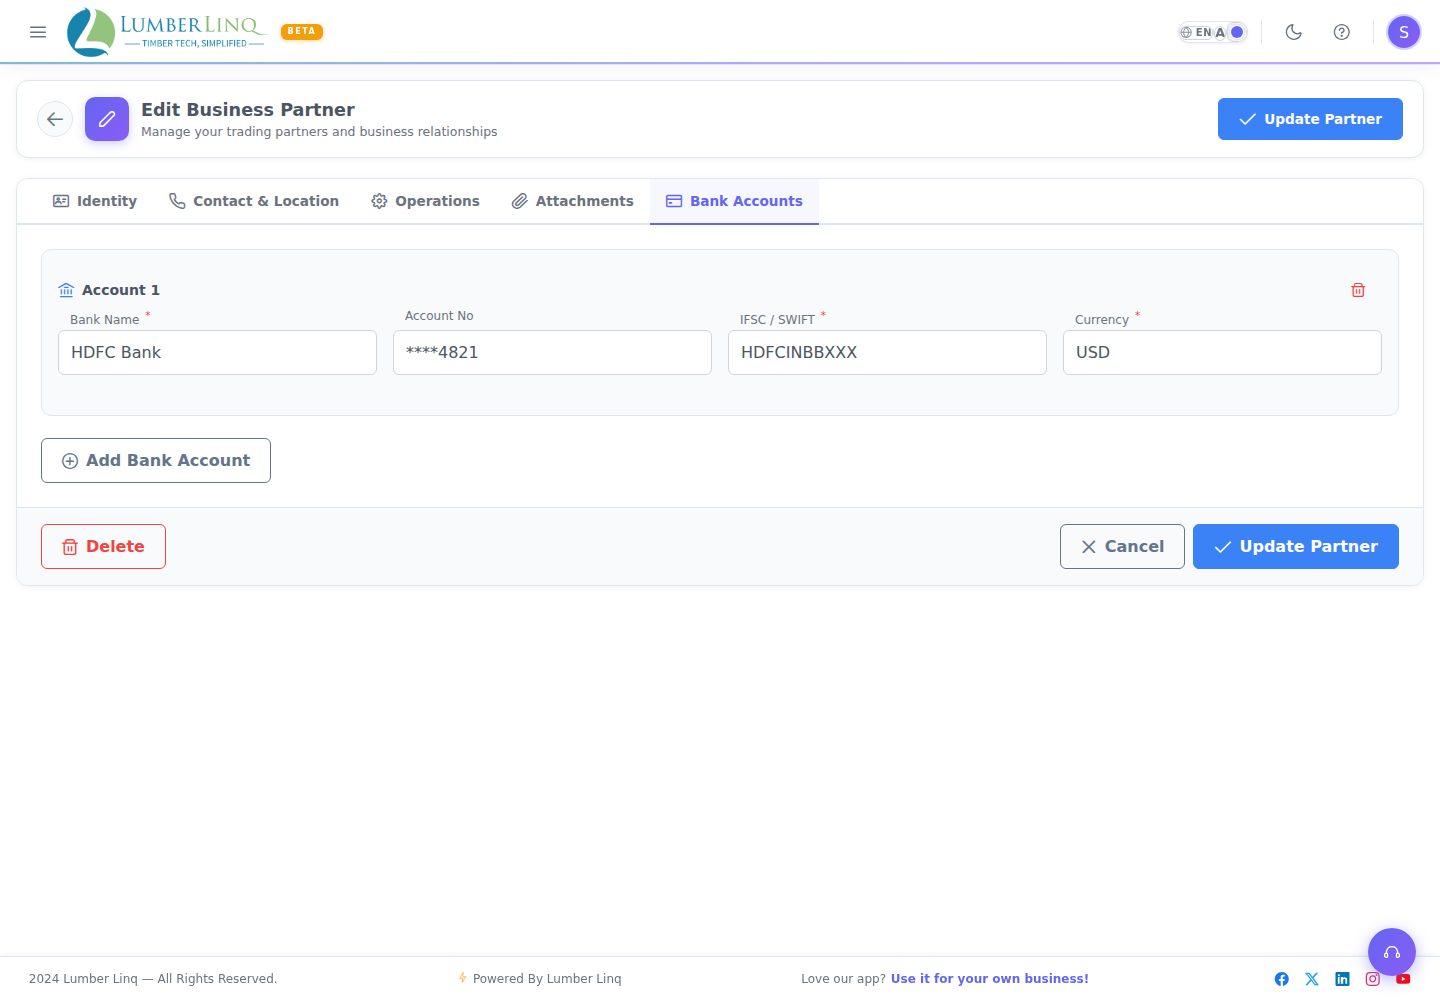
Bank Accounts
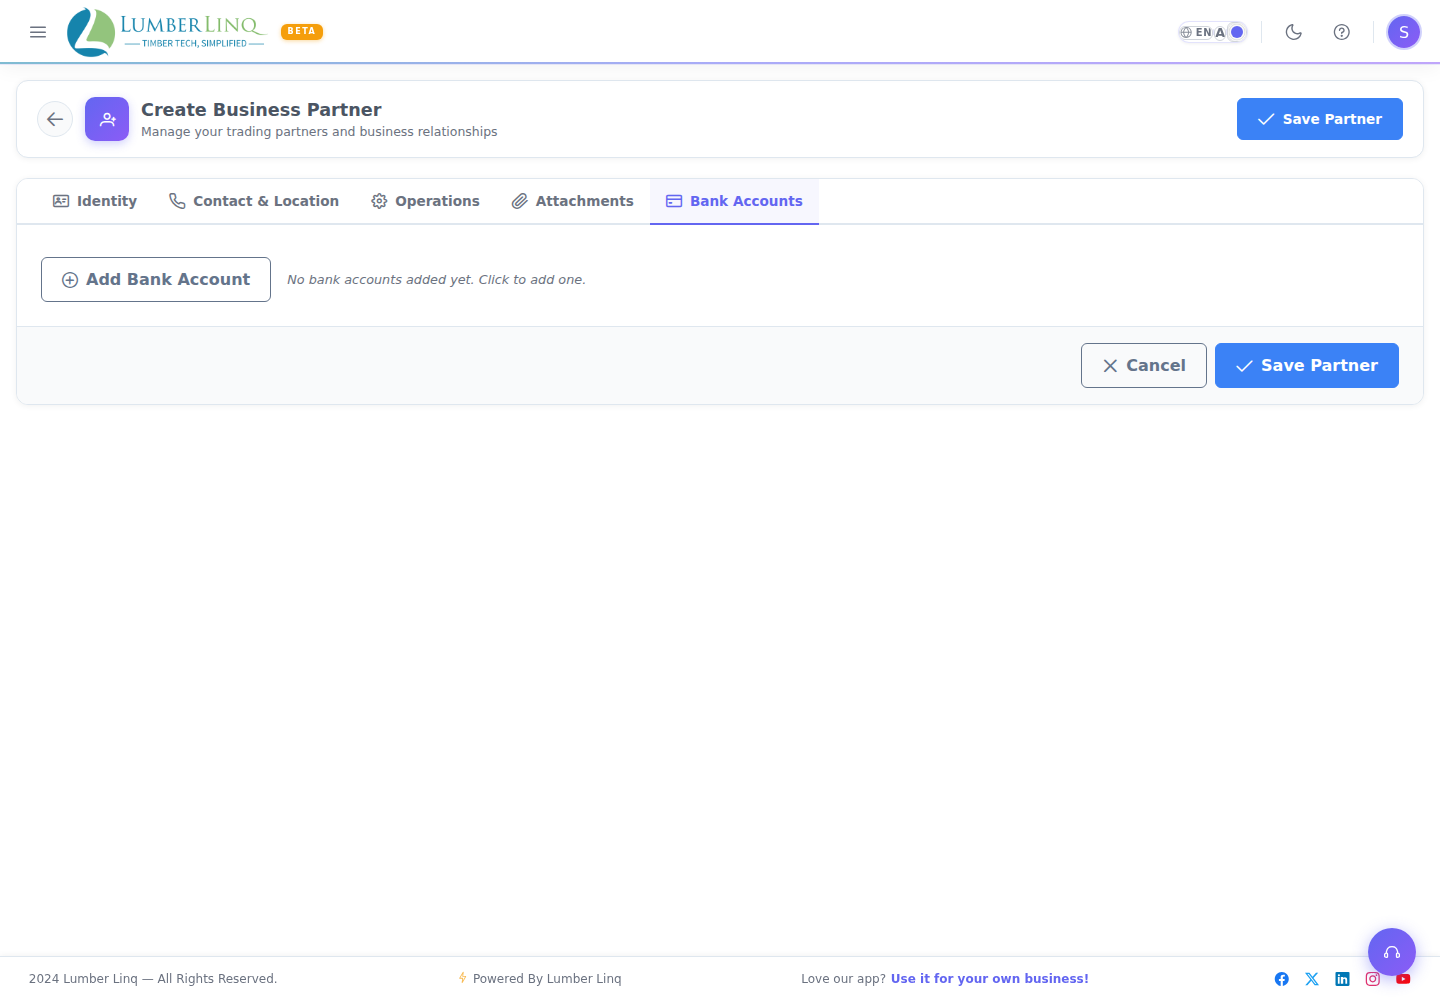
Click Add Bank Account to add banking details such as bank name, account number, IFSC/SWIFT, and currency.
Import Many Business Partners at Once
On the View Business Partners page there is an Import button (on a phone it is in the … menu):
- Import — from an Excel or CSV file. Download the template first: it has the right column headers and an example row.
It opens guided steps: Upload, Map Columns, Resolve Values, Review, Confirm. Nothing is saved until you confirm at the end.
- A partner with the same name, or the same Tax ID, as one you already have is skipped. It is never overwritten.
- The import follows your plan’s Business Partner limit. Rows beyond the limit are skipped and reported as “Plan limit reached”.
- Rows that cannot be imported are listed with the reason, for example a missing Address Line 1 or an invalid GSTIN for India. Fix the file and import again; the rows already created are skipped as duplicates.
- Tax ID / GSTIN is optional.
Edit a Business Partner
- Open Business Partners > View Business Partners.
- Click the partner’s name, or use the edit row action, to open it.
- Click through the tabs (Identity, Contact & Location, Operations, Attachments, Bank Accounts) and make your changes.
- Click Update Partner.
Attach Files to a Partner
Attachments only unlock once a partner has been saved at least once.
- Open the partner from the list.
- Click the Attachments tab.
- Drag files onto the drop zone, or click Browse Files to pick them from your device.
- Wait for each file to finish uploading (shown by its progress bar and a success checkmark).
Supported use cases include tax certificates, compliance documents, and trade documents.
Maintain Bank Details
- Open the partner from the list.
- Click the Bank Accounts tab.
- Click Add Bank Account to add a new one, then fill in Bank Name, Account Number, IFSC/SWIFT, and Currency. When typing a new account number, a Confirm Account Number field appears — retype the number there to catch typos (pasting into it is blocked on purpose).
- To remove an account, click the trash icon on its card.
- Click Update Partner to save your changes.
Existing bank accounts appear as account cards. An already-saved account number is masked; users with the right permission can click the eye icon to reveal it (every reveal is logged).
Activate or Deactivate a Partner
- Open Business Partners > View Business Partners.
- Find the partner’s row and use its status action (activate/deactivate).
- Confirm the change in the dialog that appears.
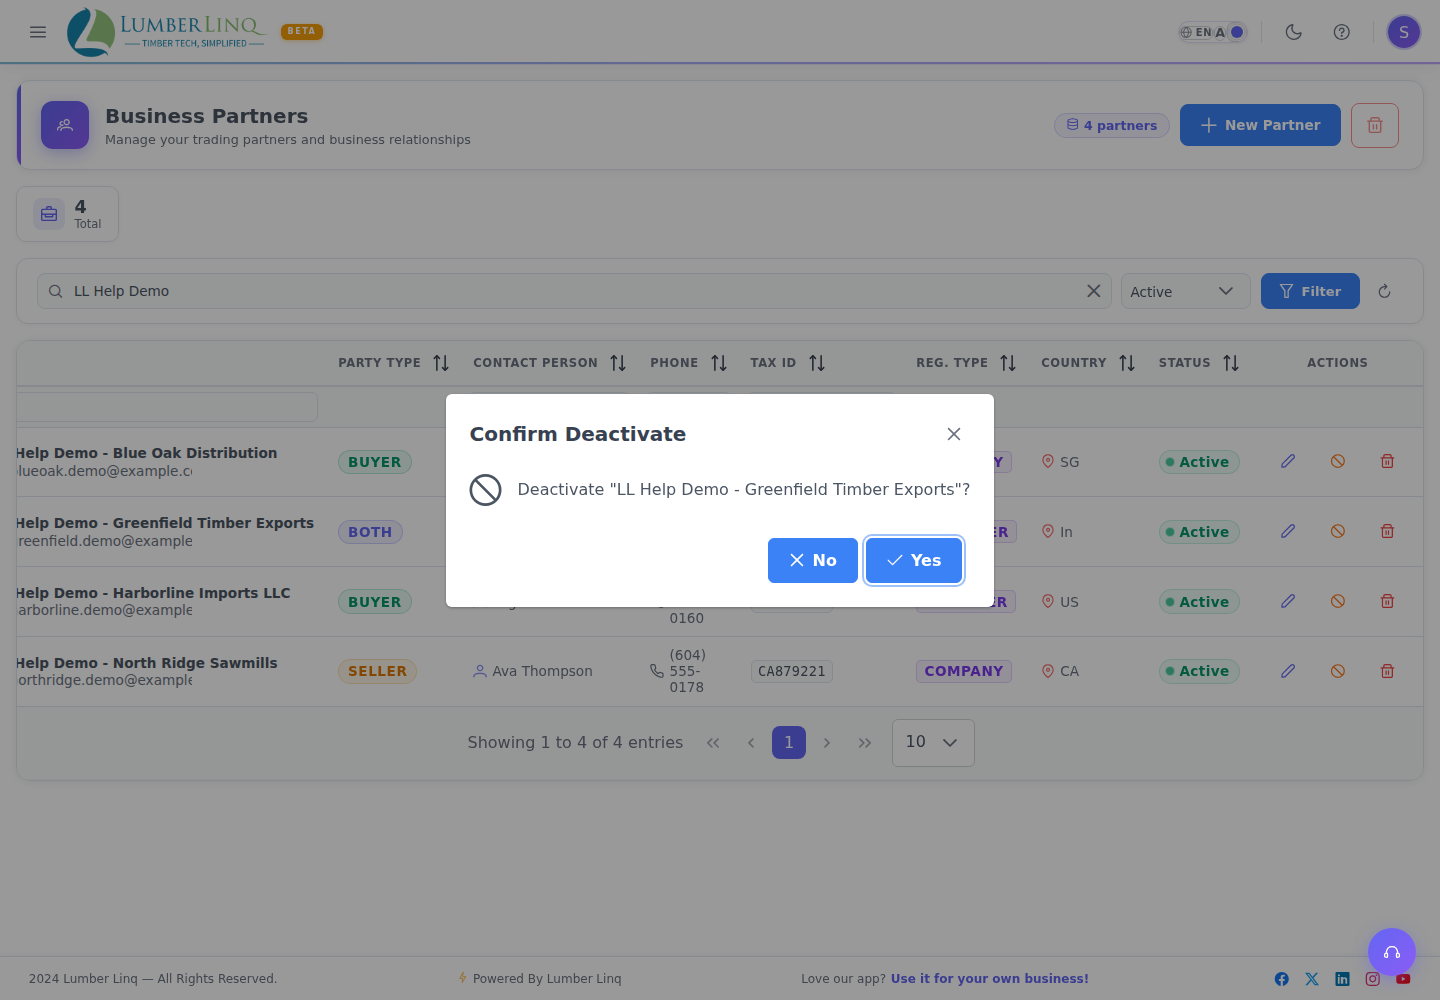
Inactive partners are hidden from new transactions but remain available for historical records. The owner company cannot be deactivated.